Full Chainmail Armor 2 - Create your own super light chainmail

Full Chainmail Armor 2 - Create your own super light chainmail 3D print model

Description

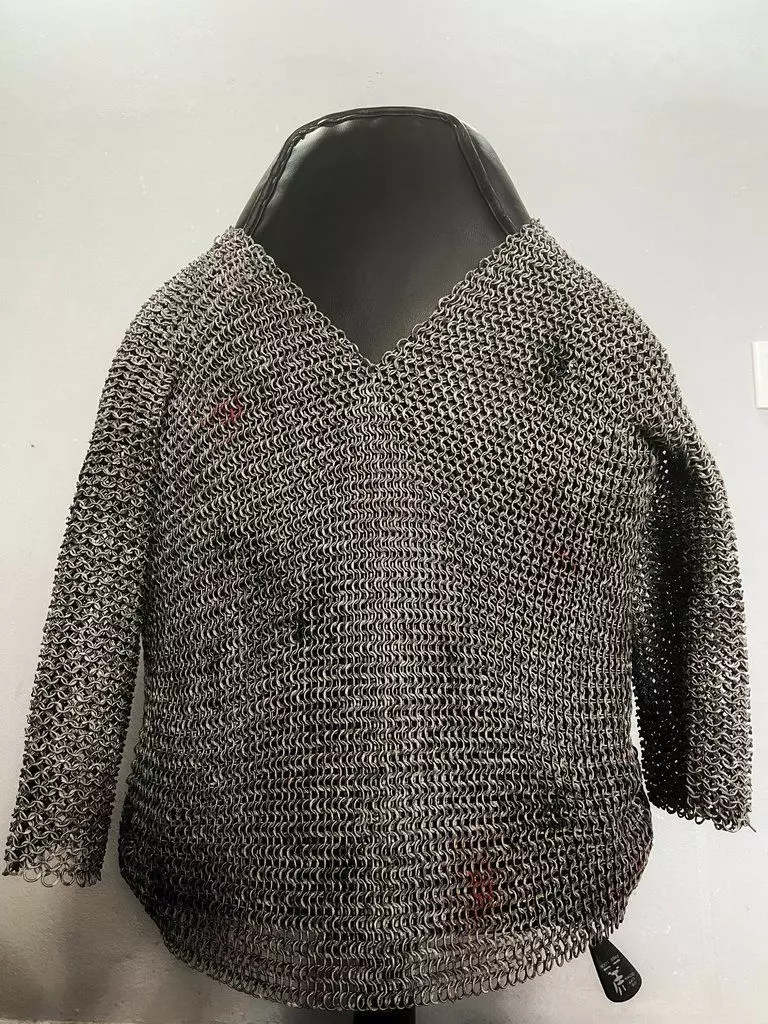
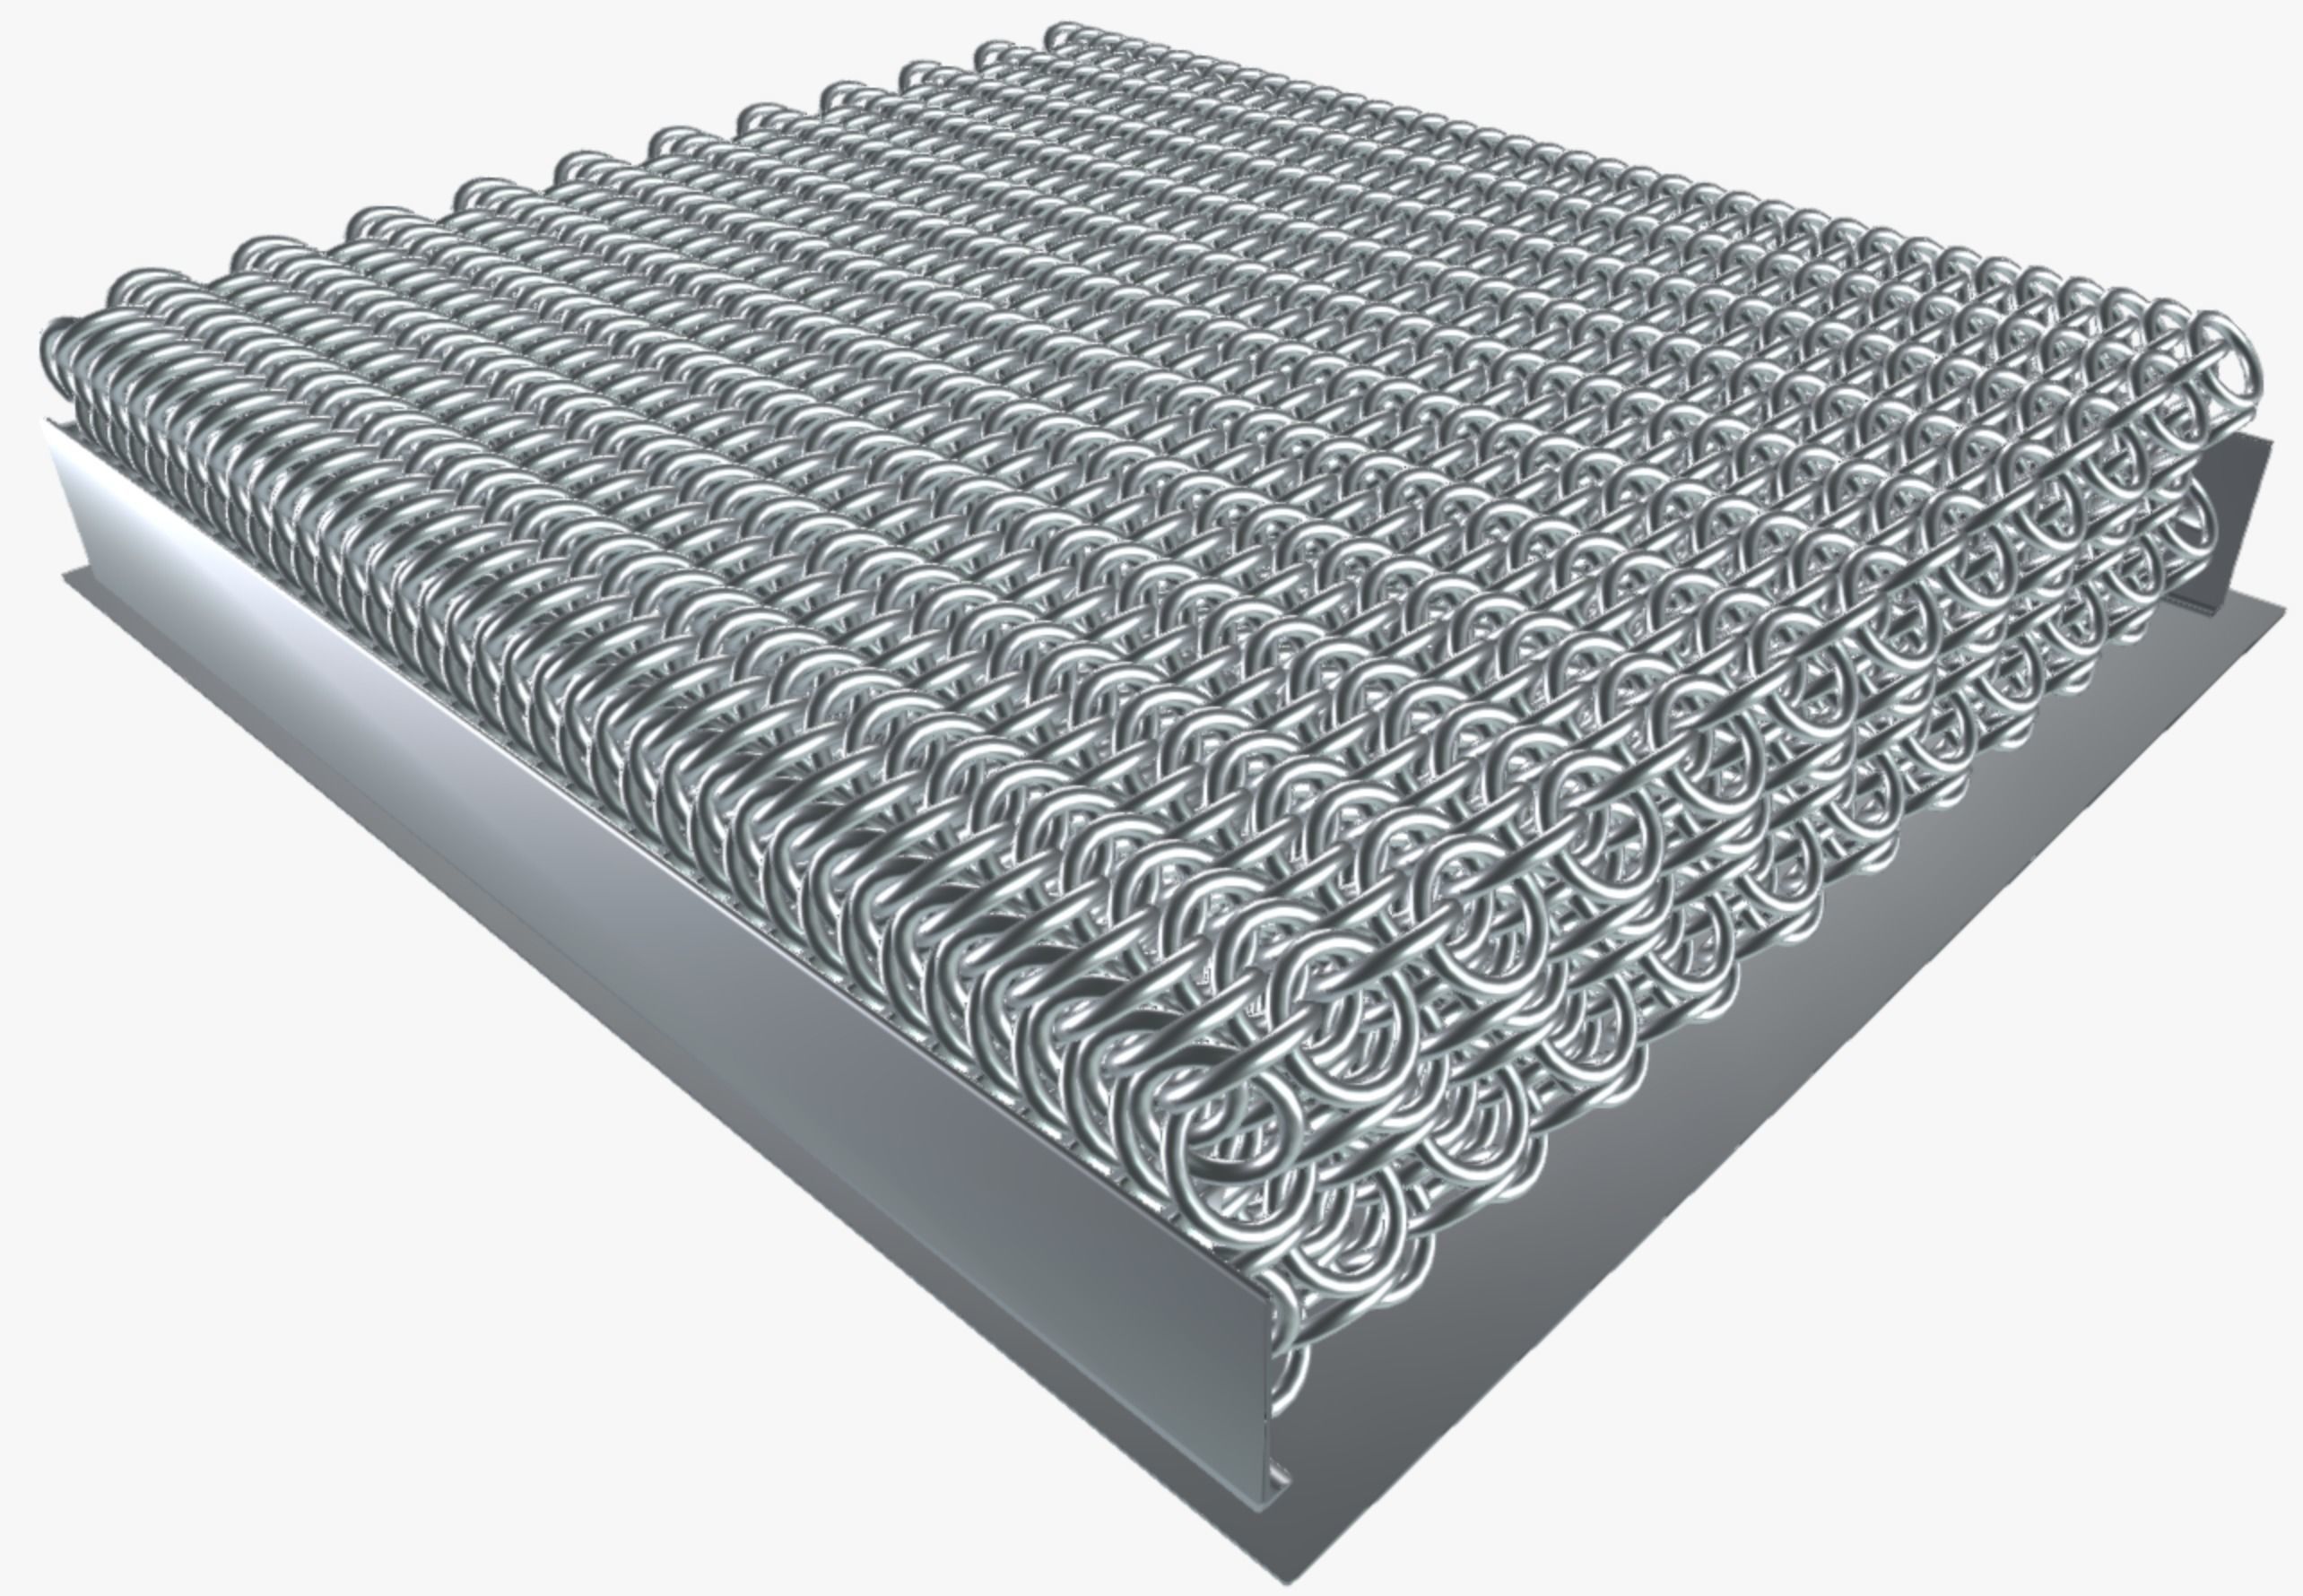
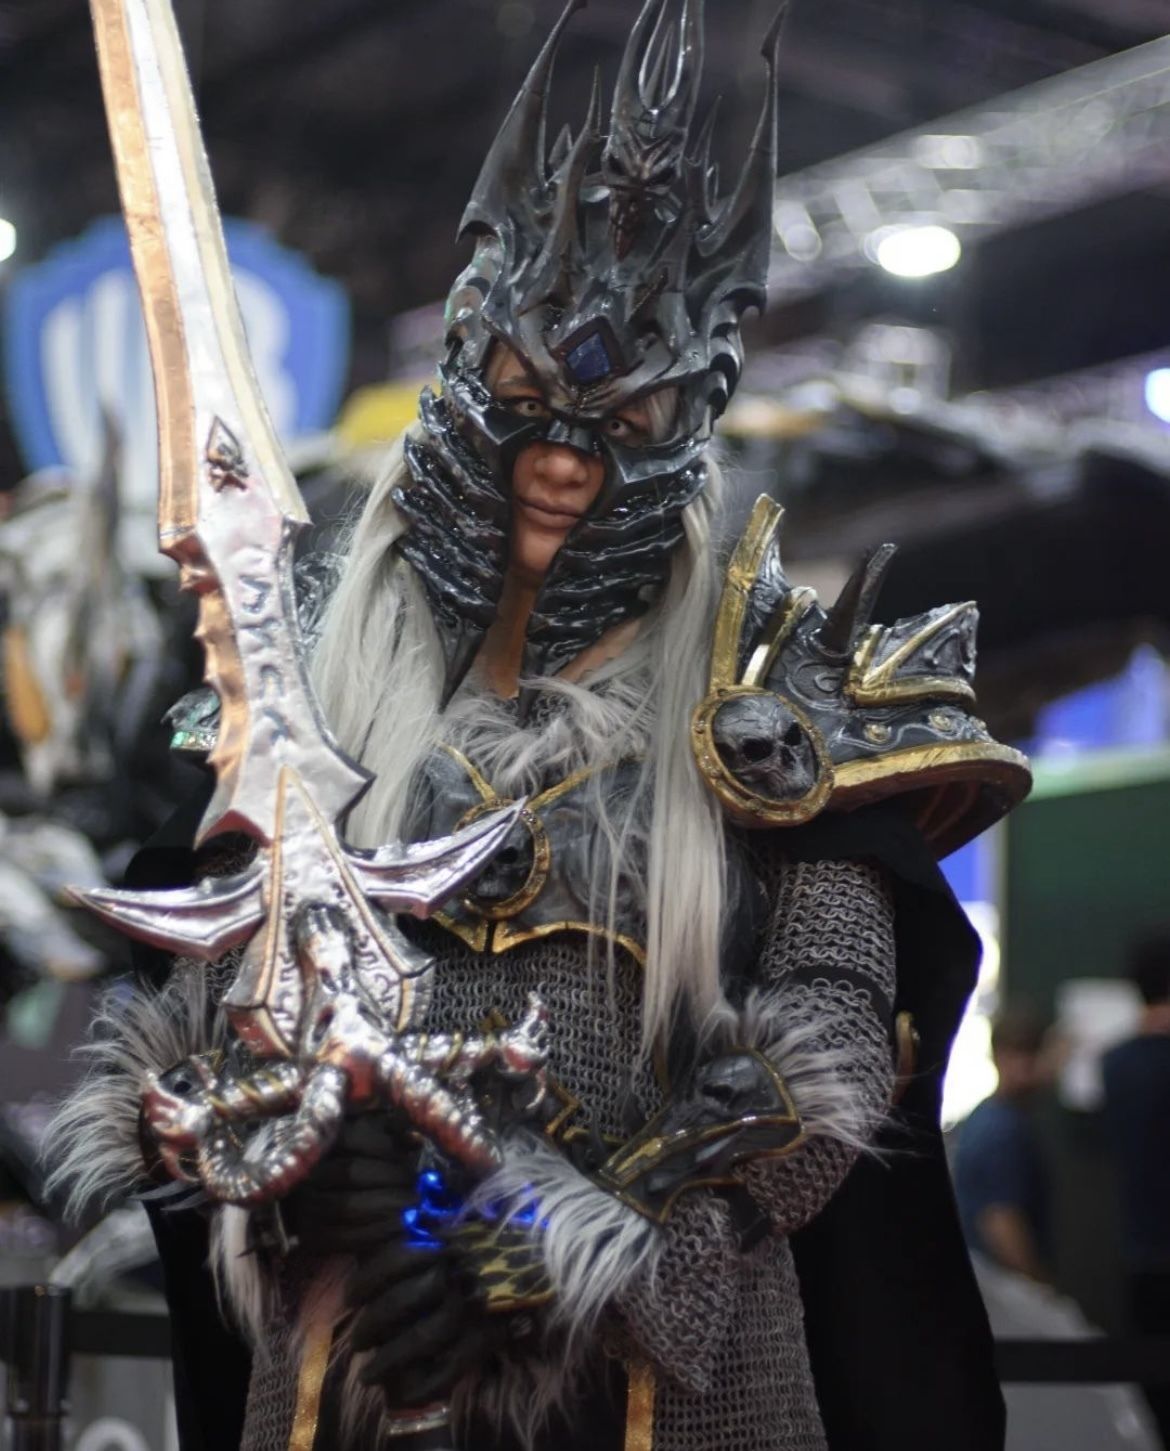
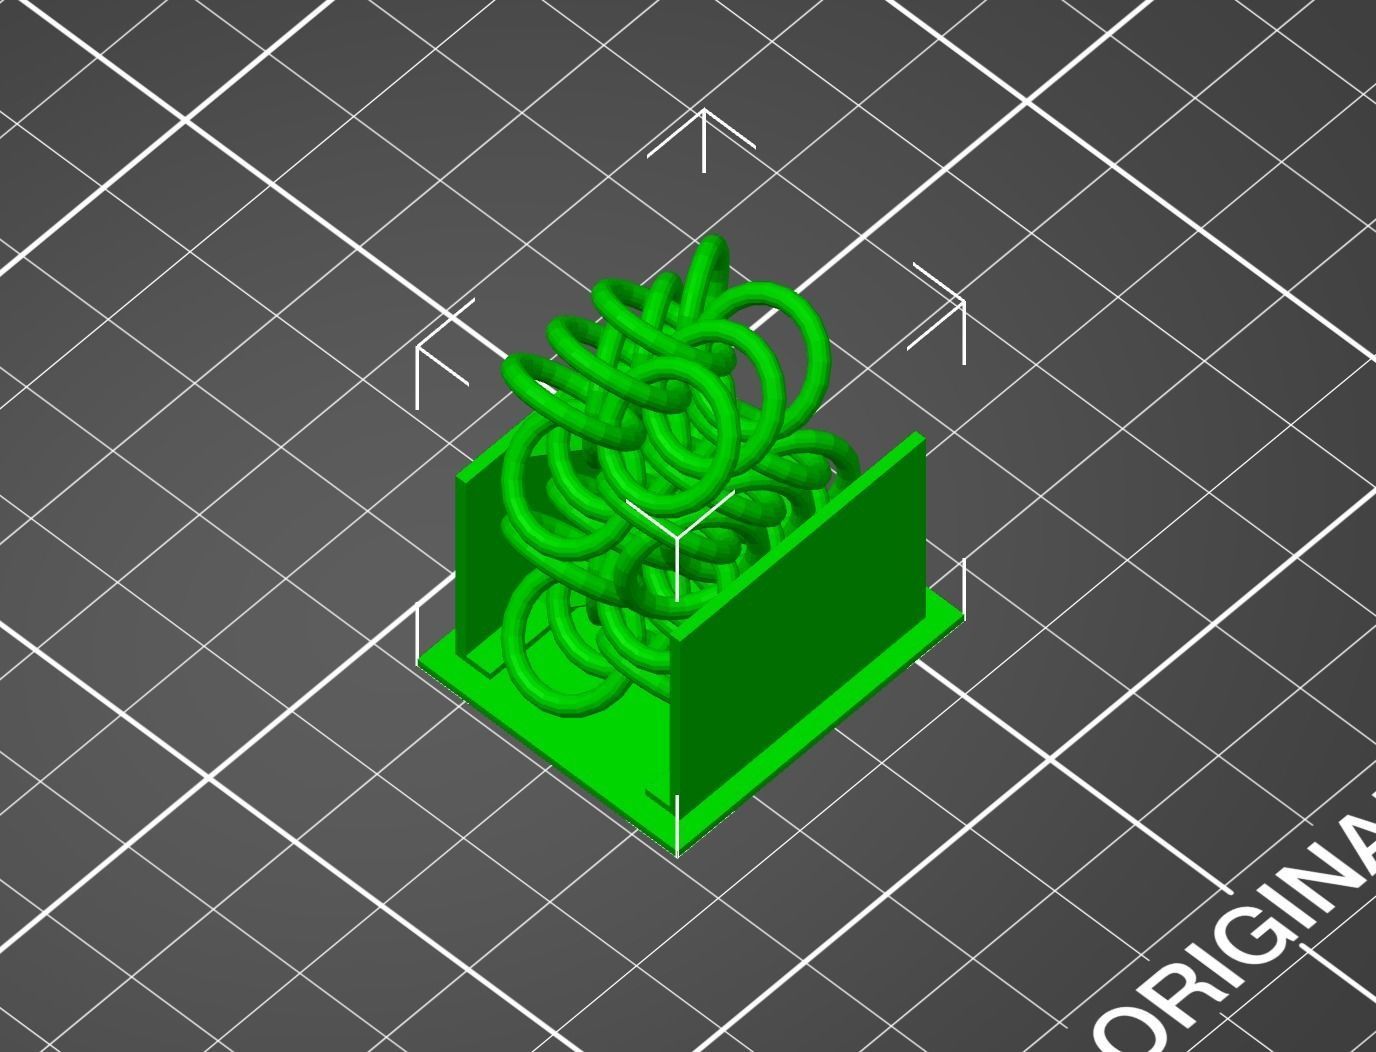
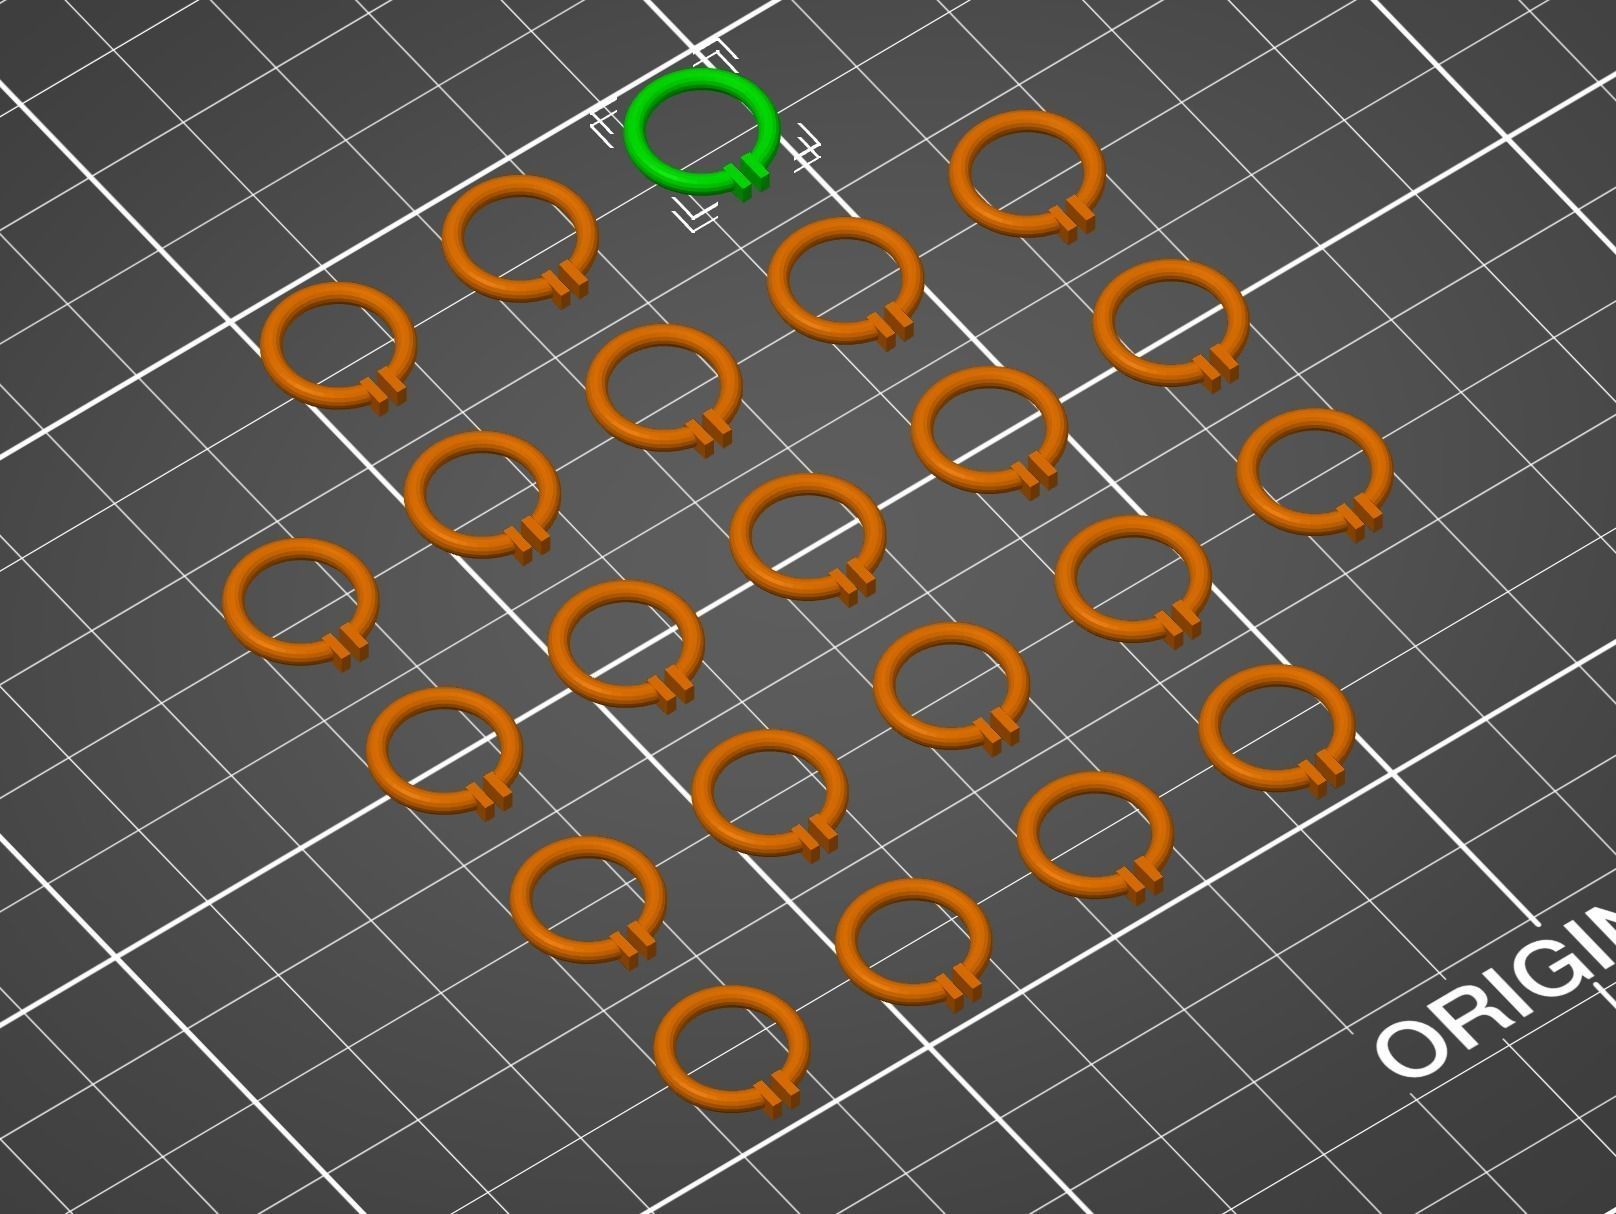
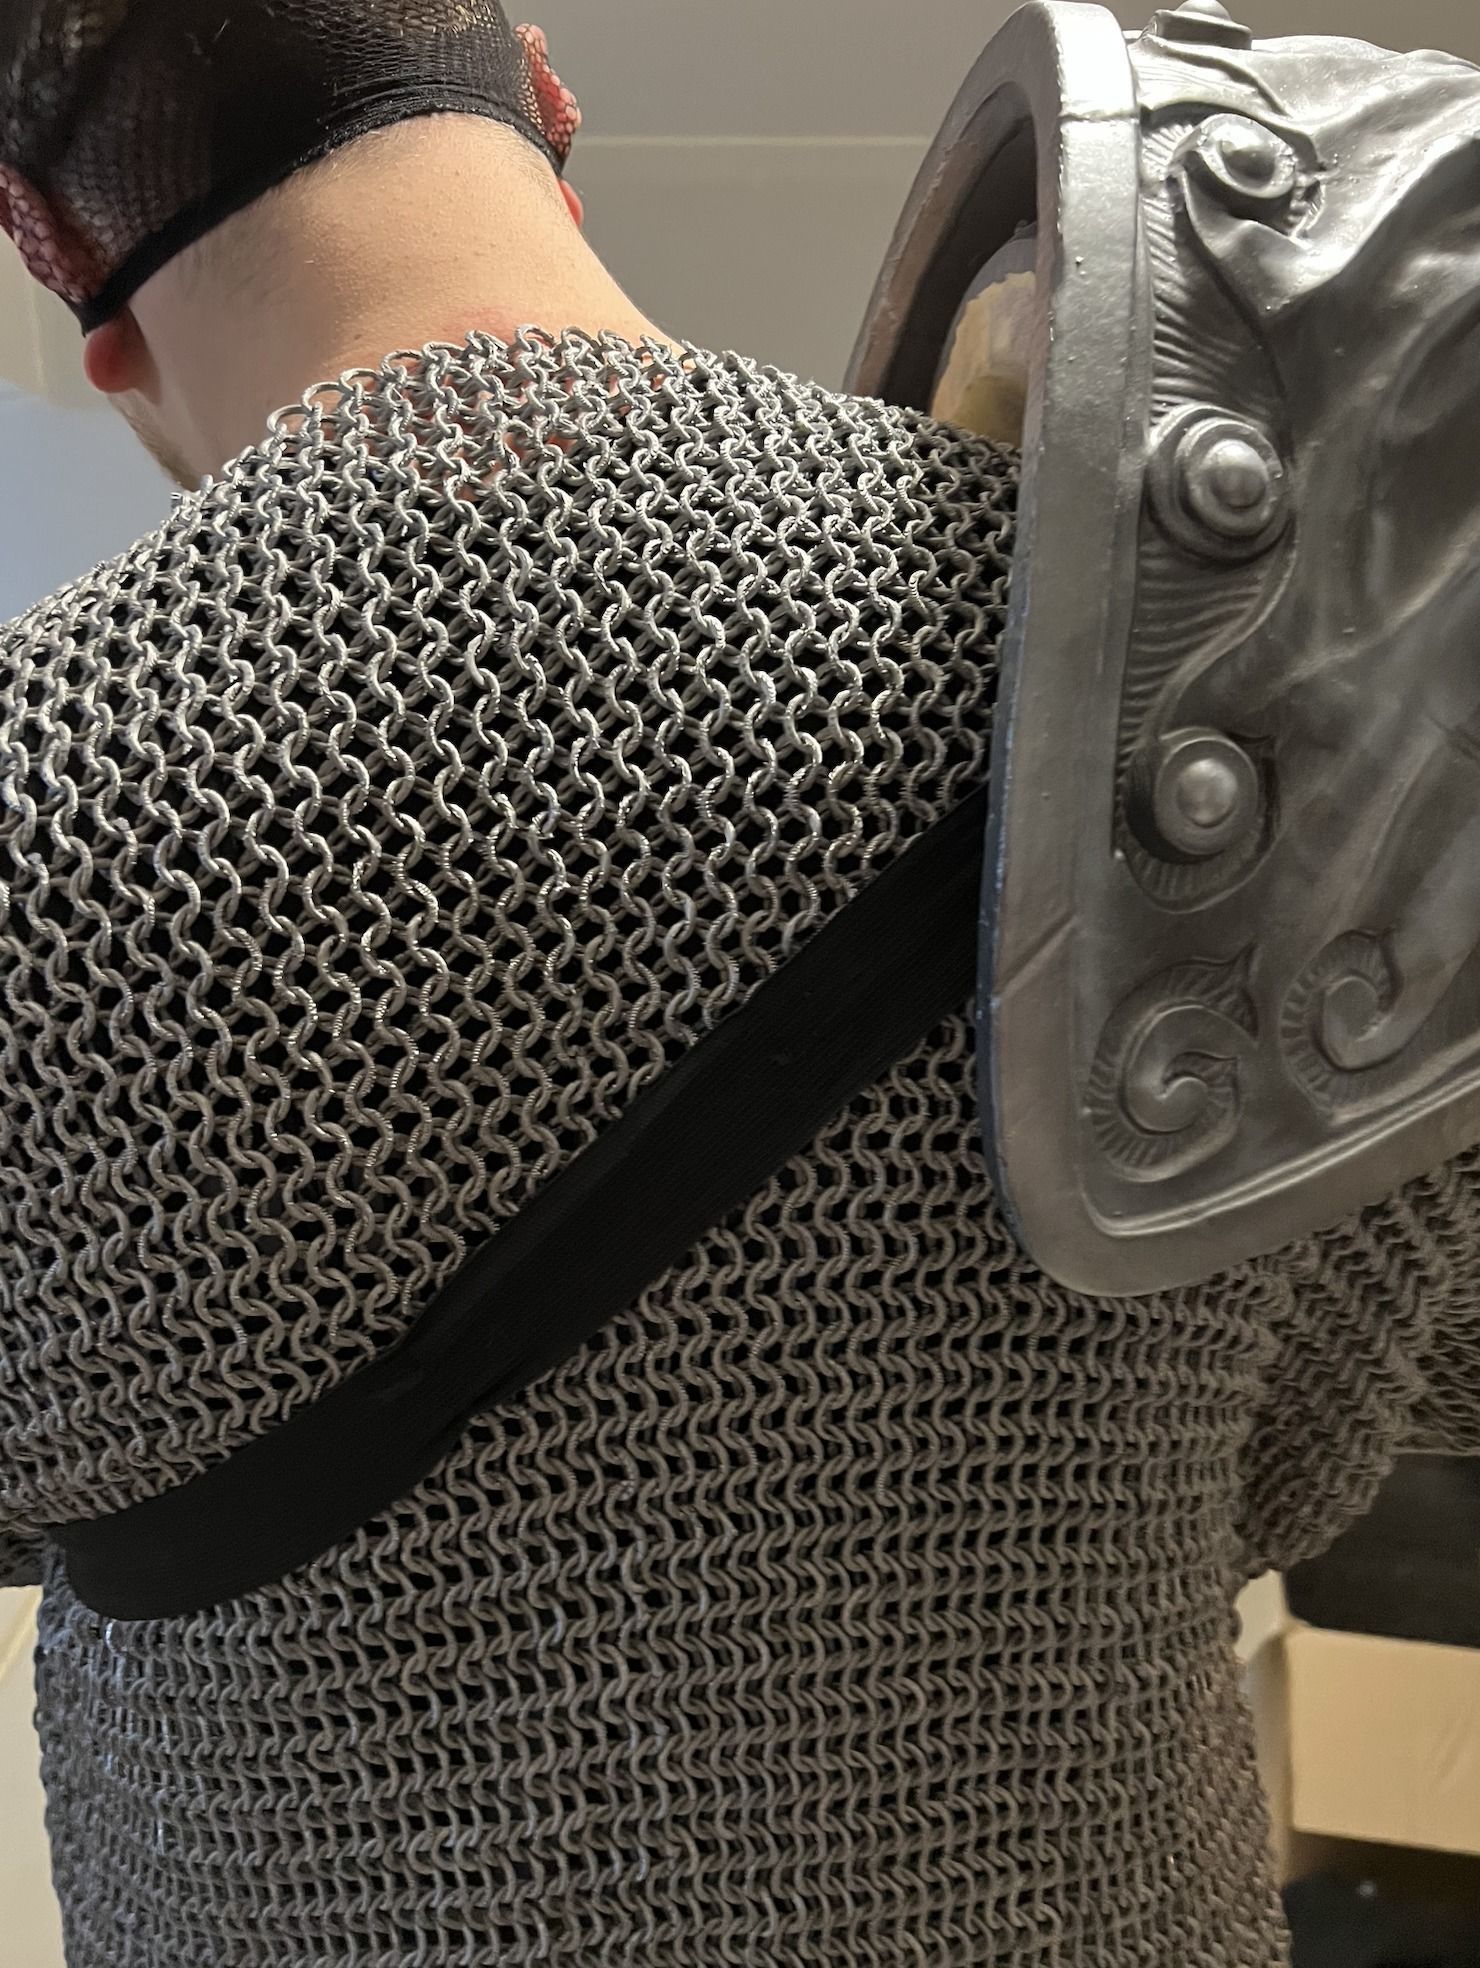
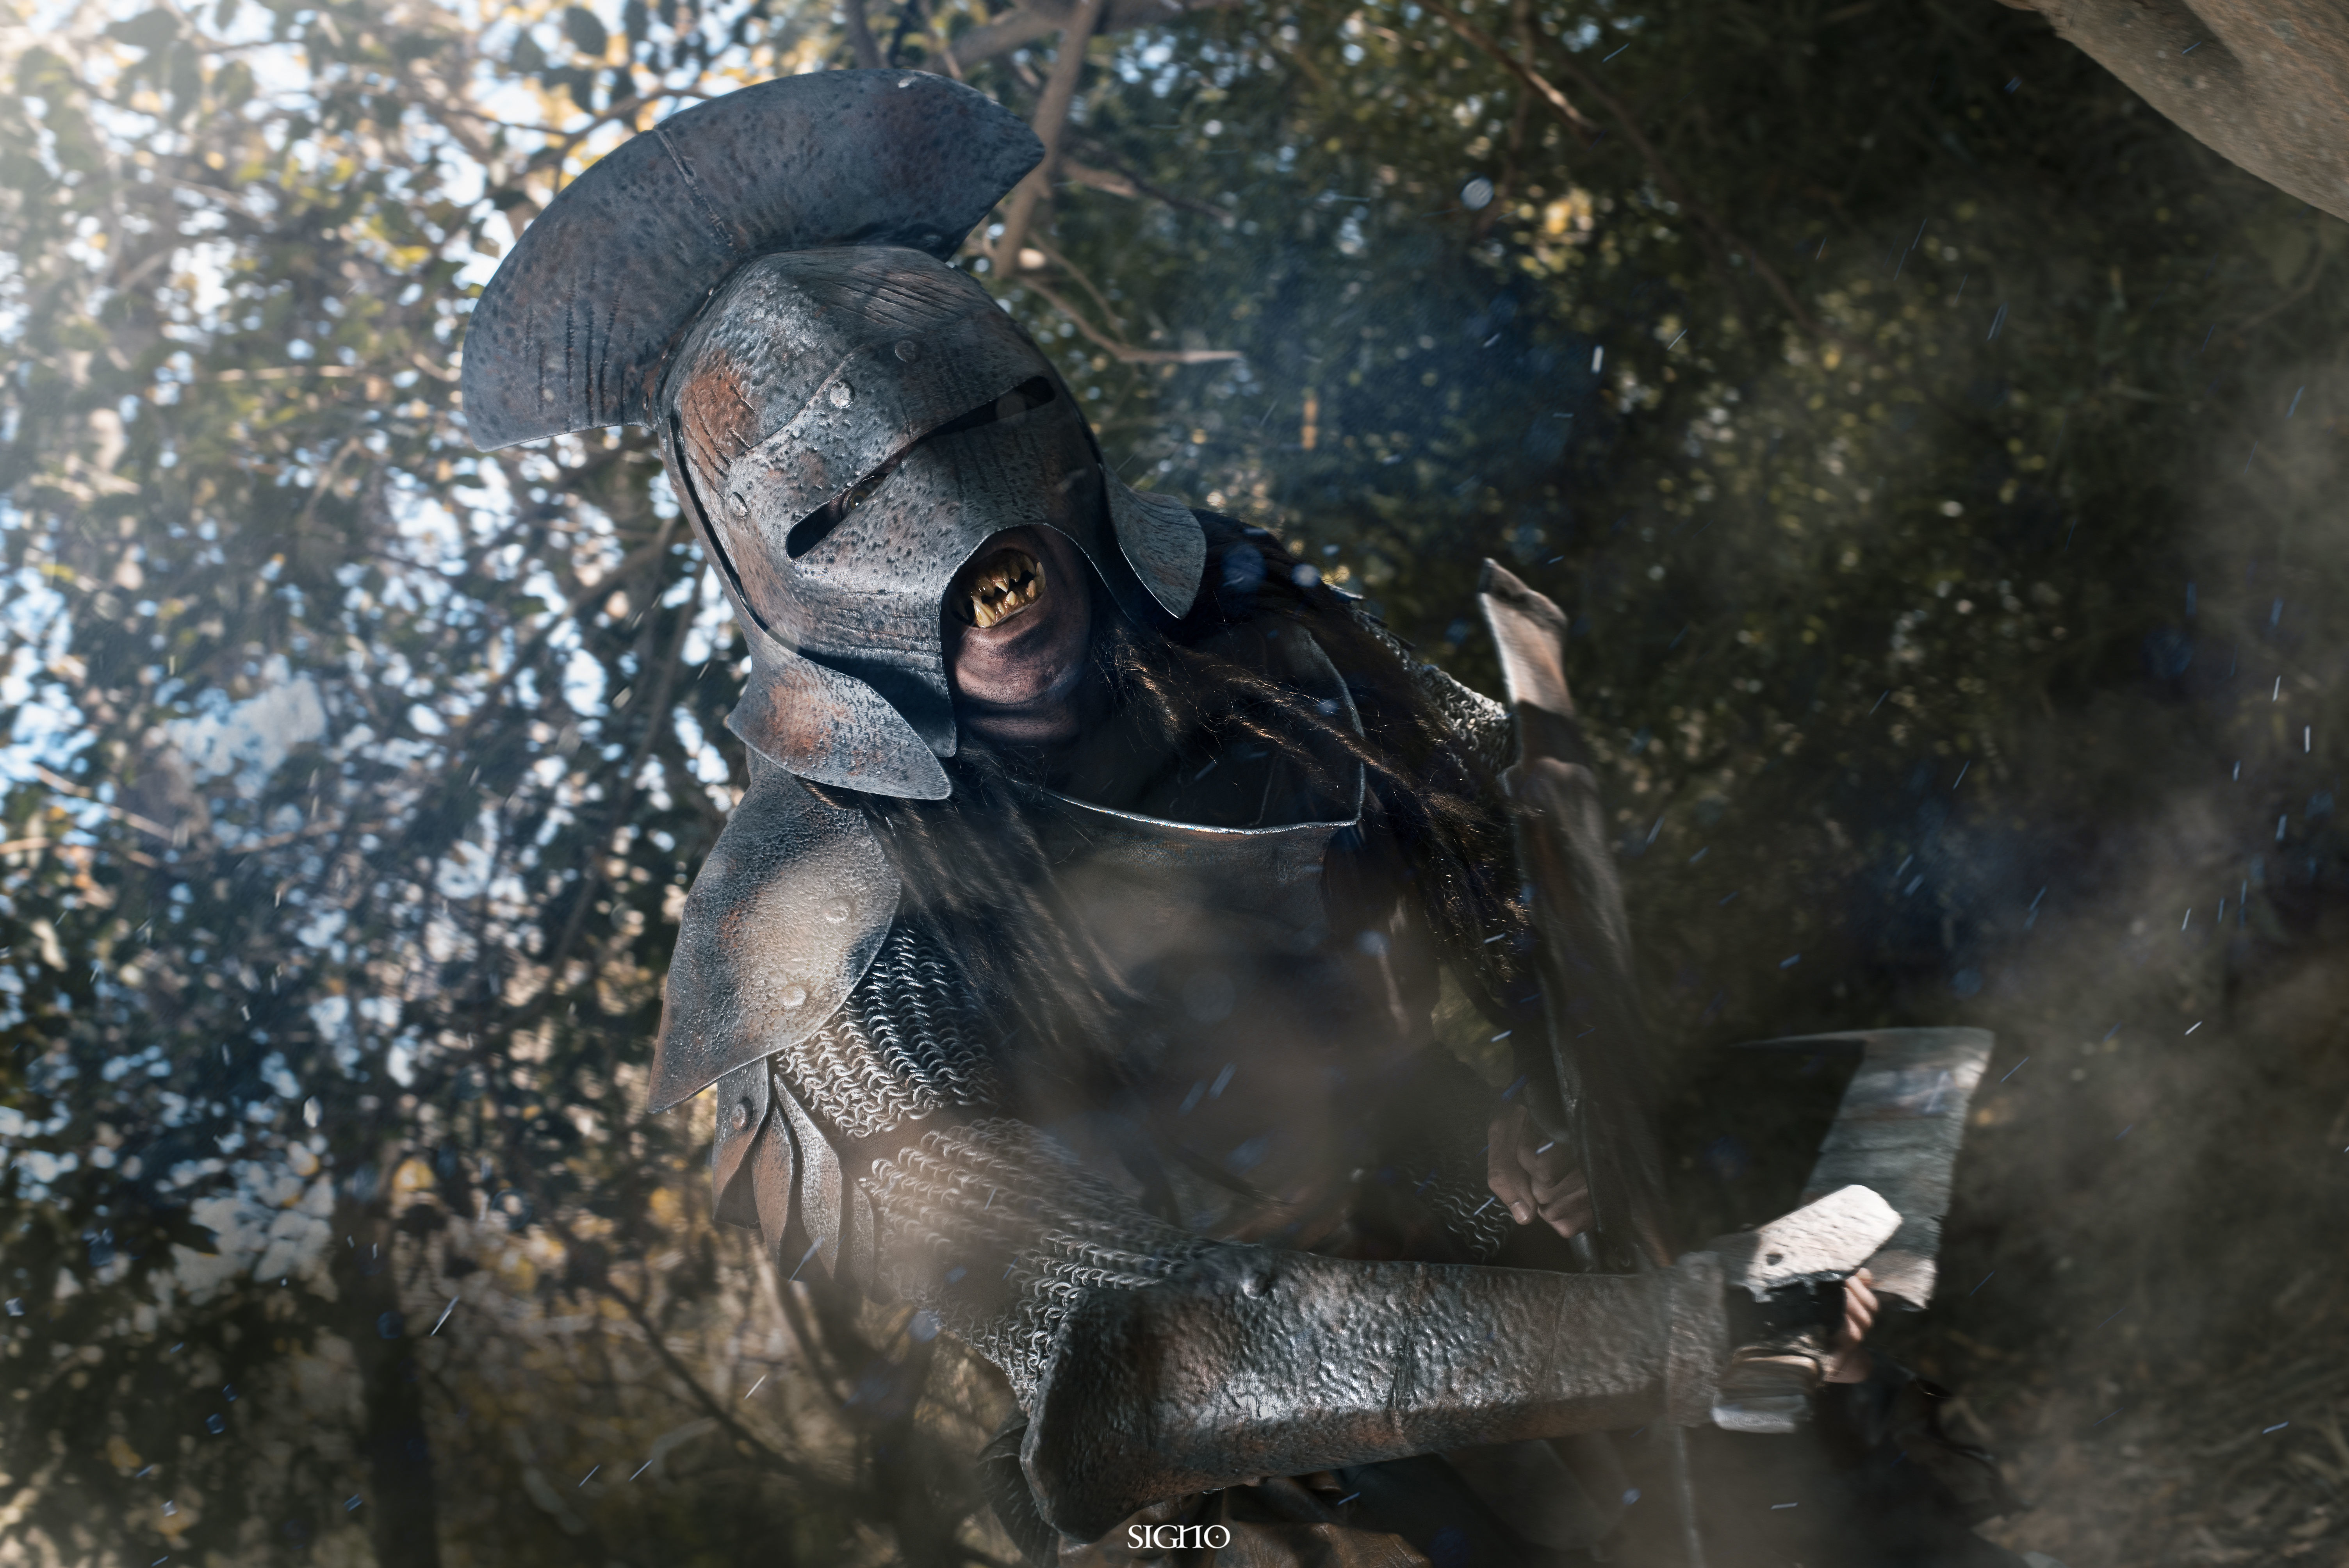
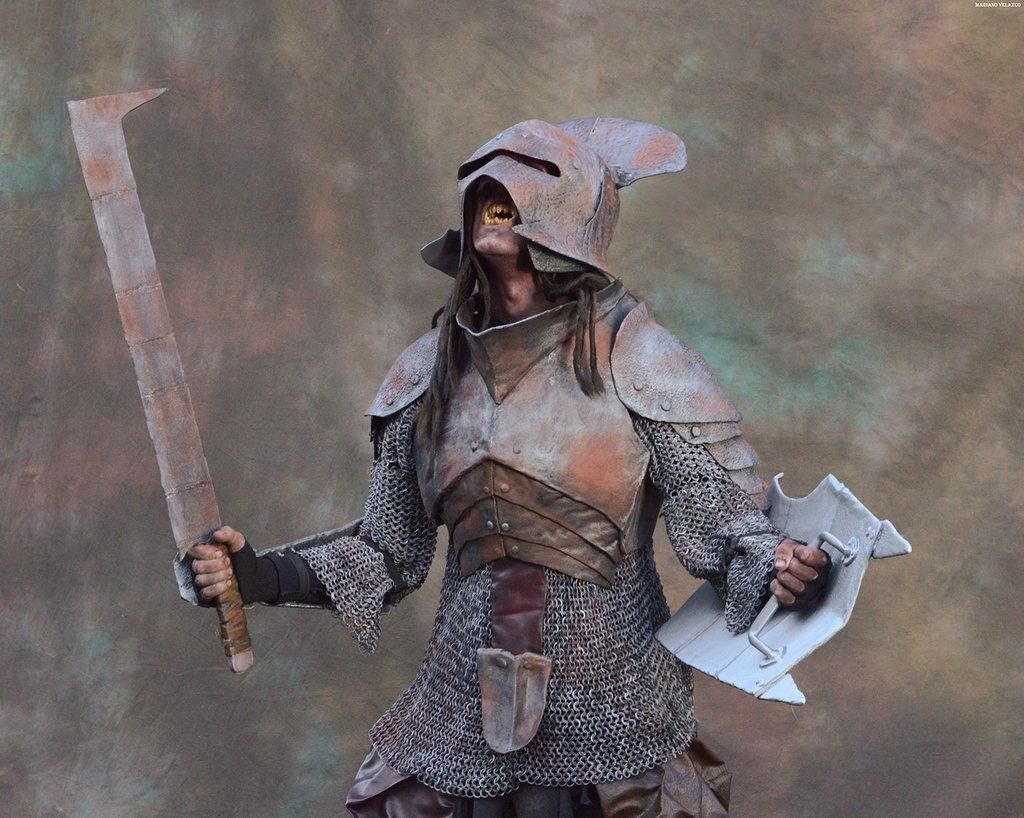
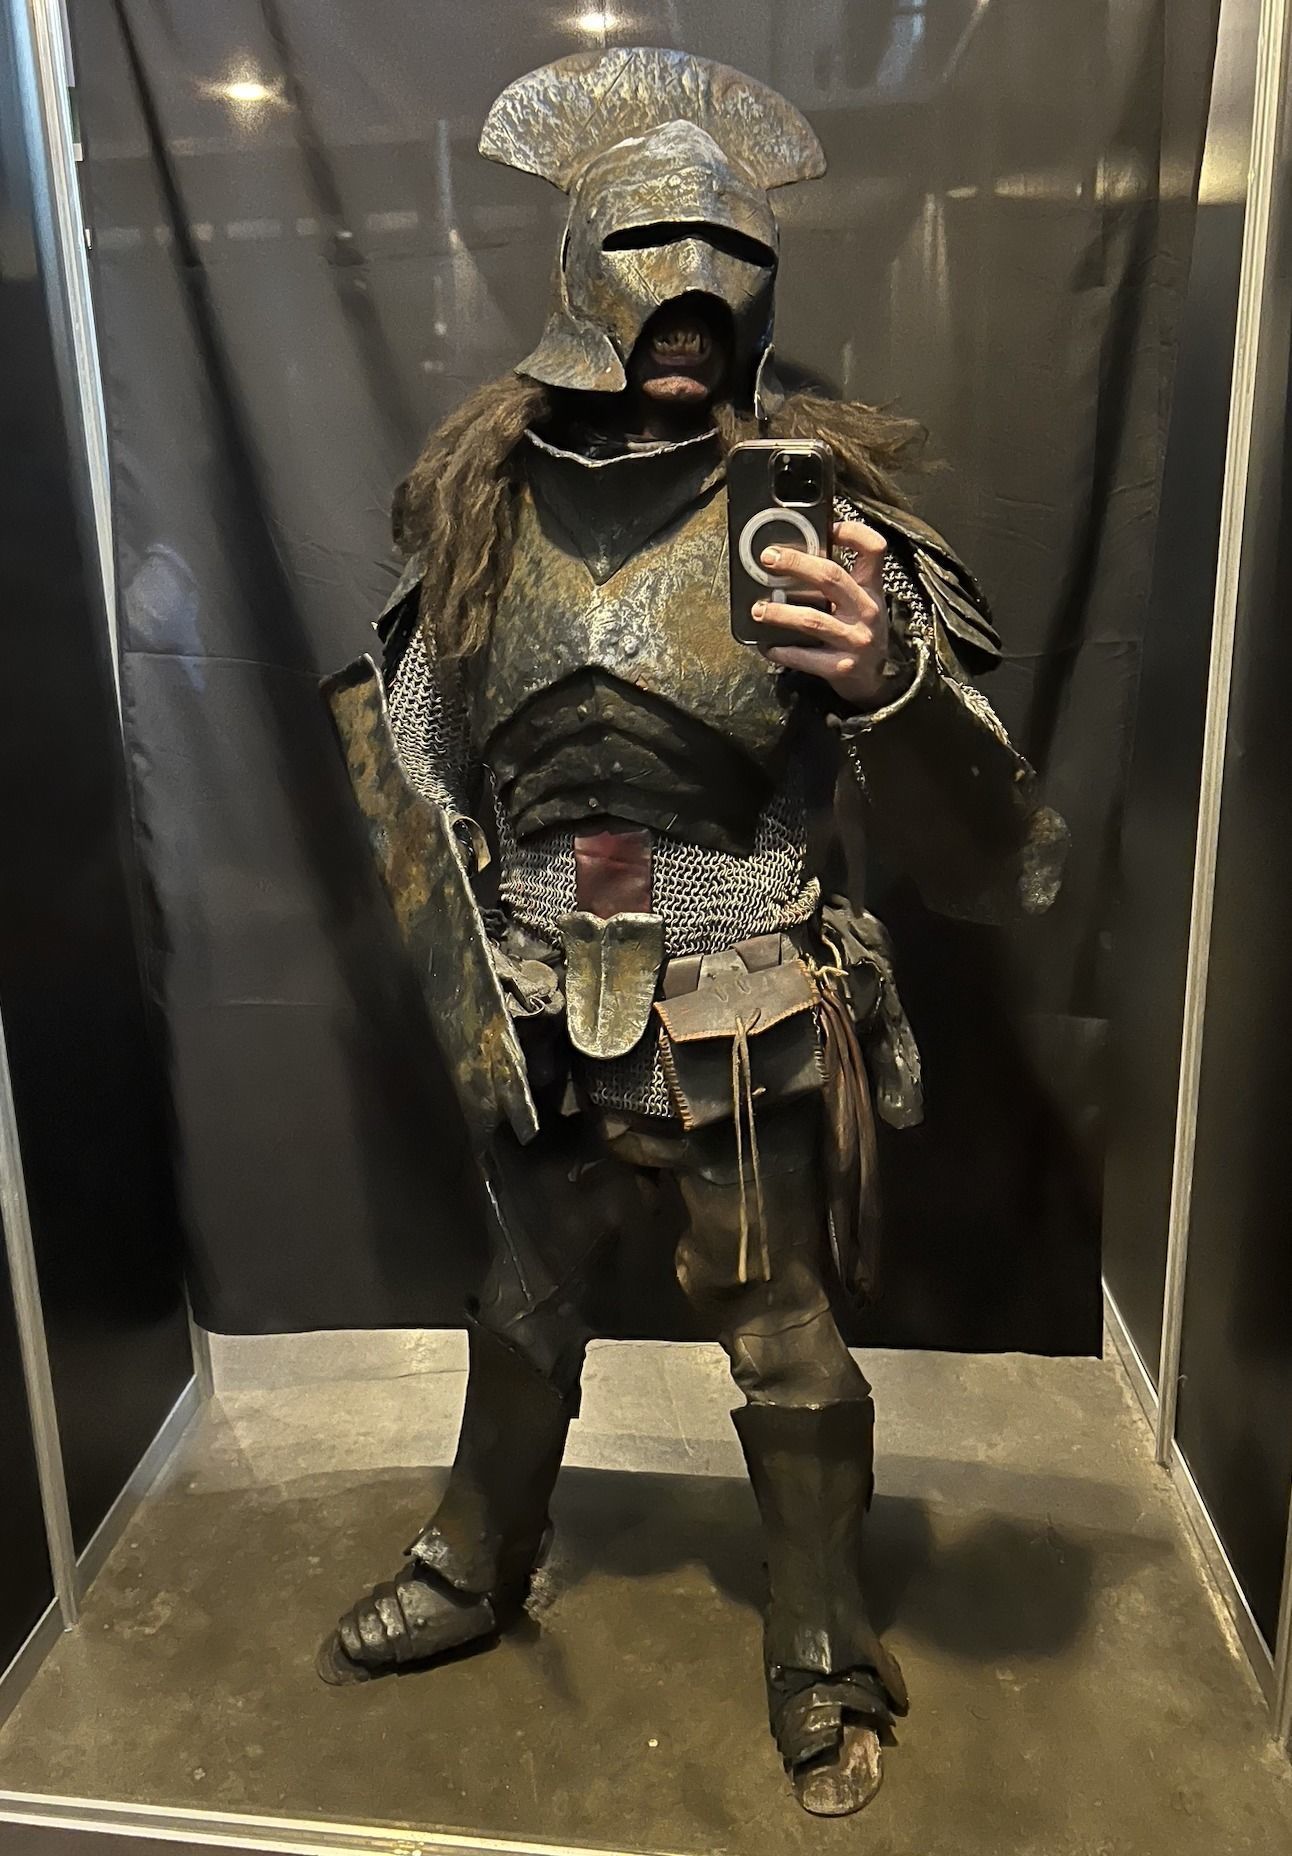
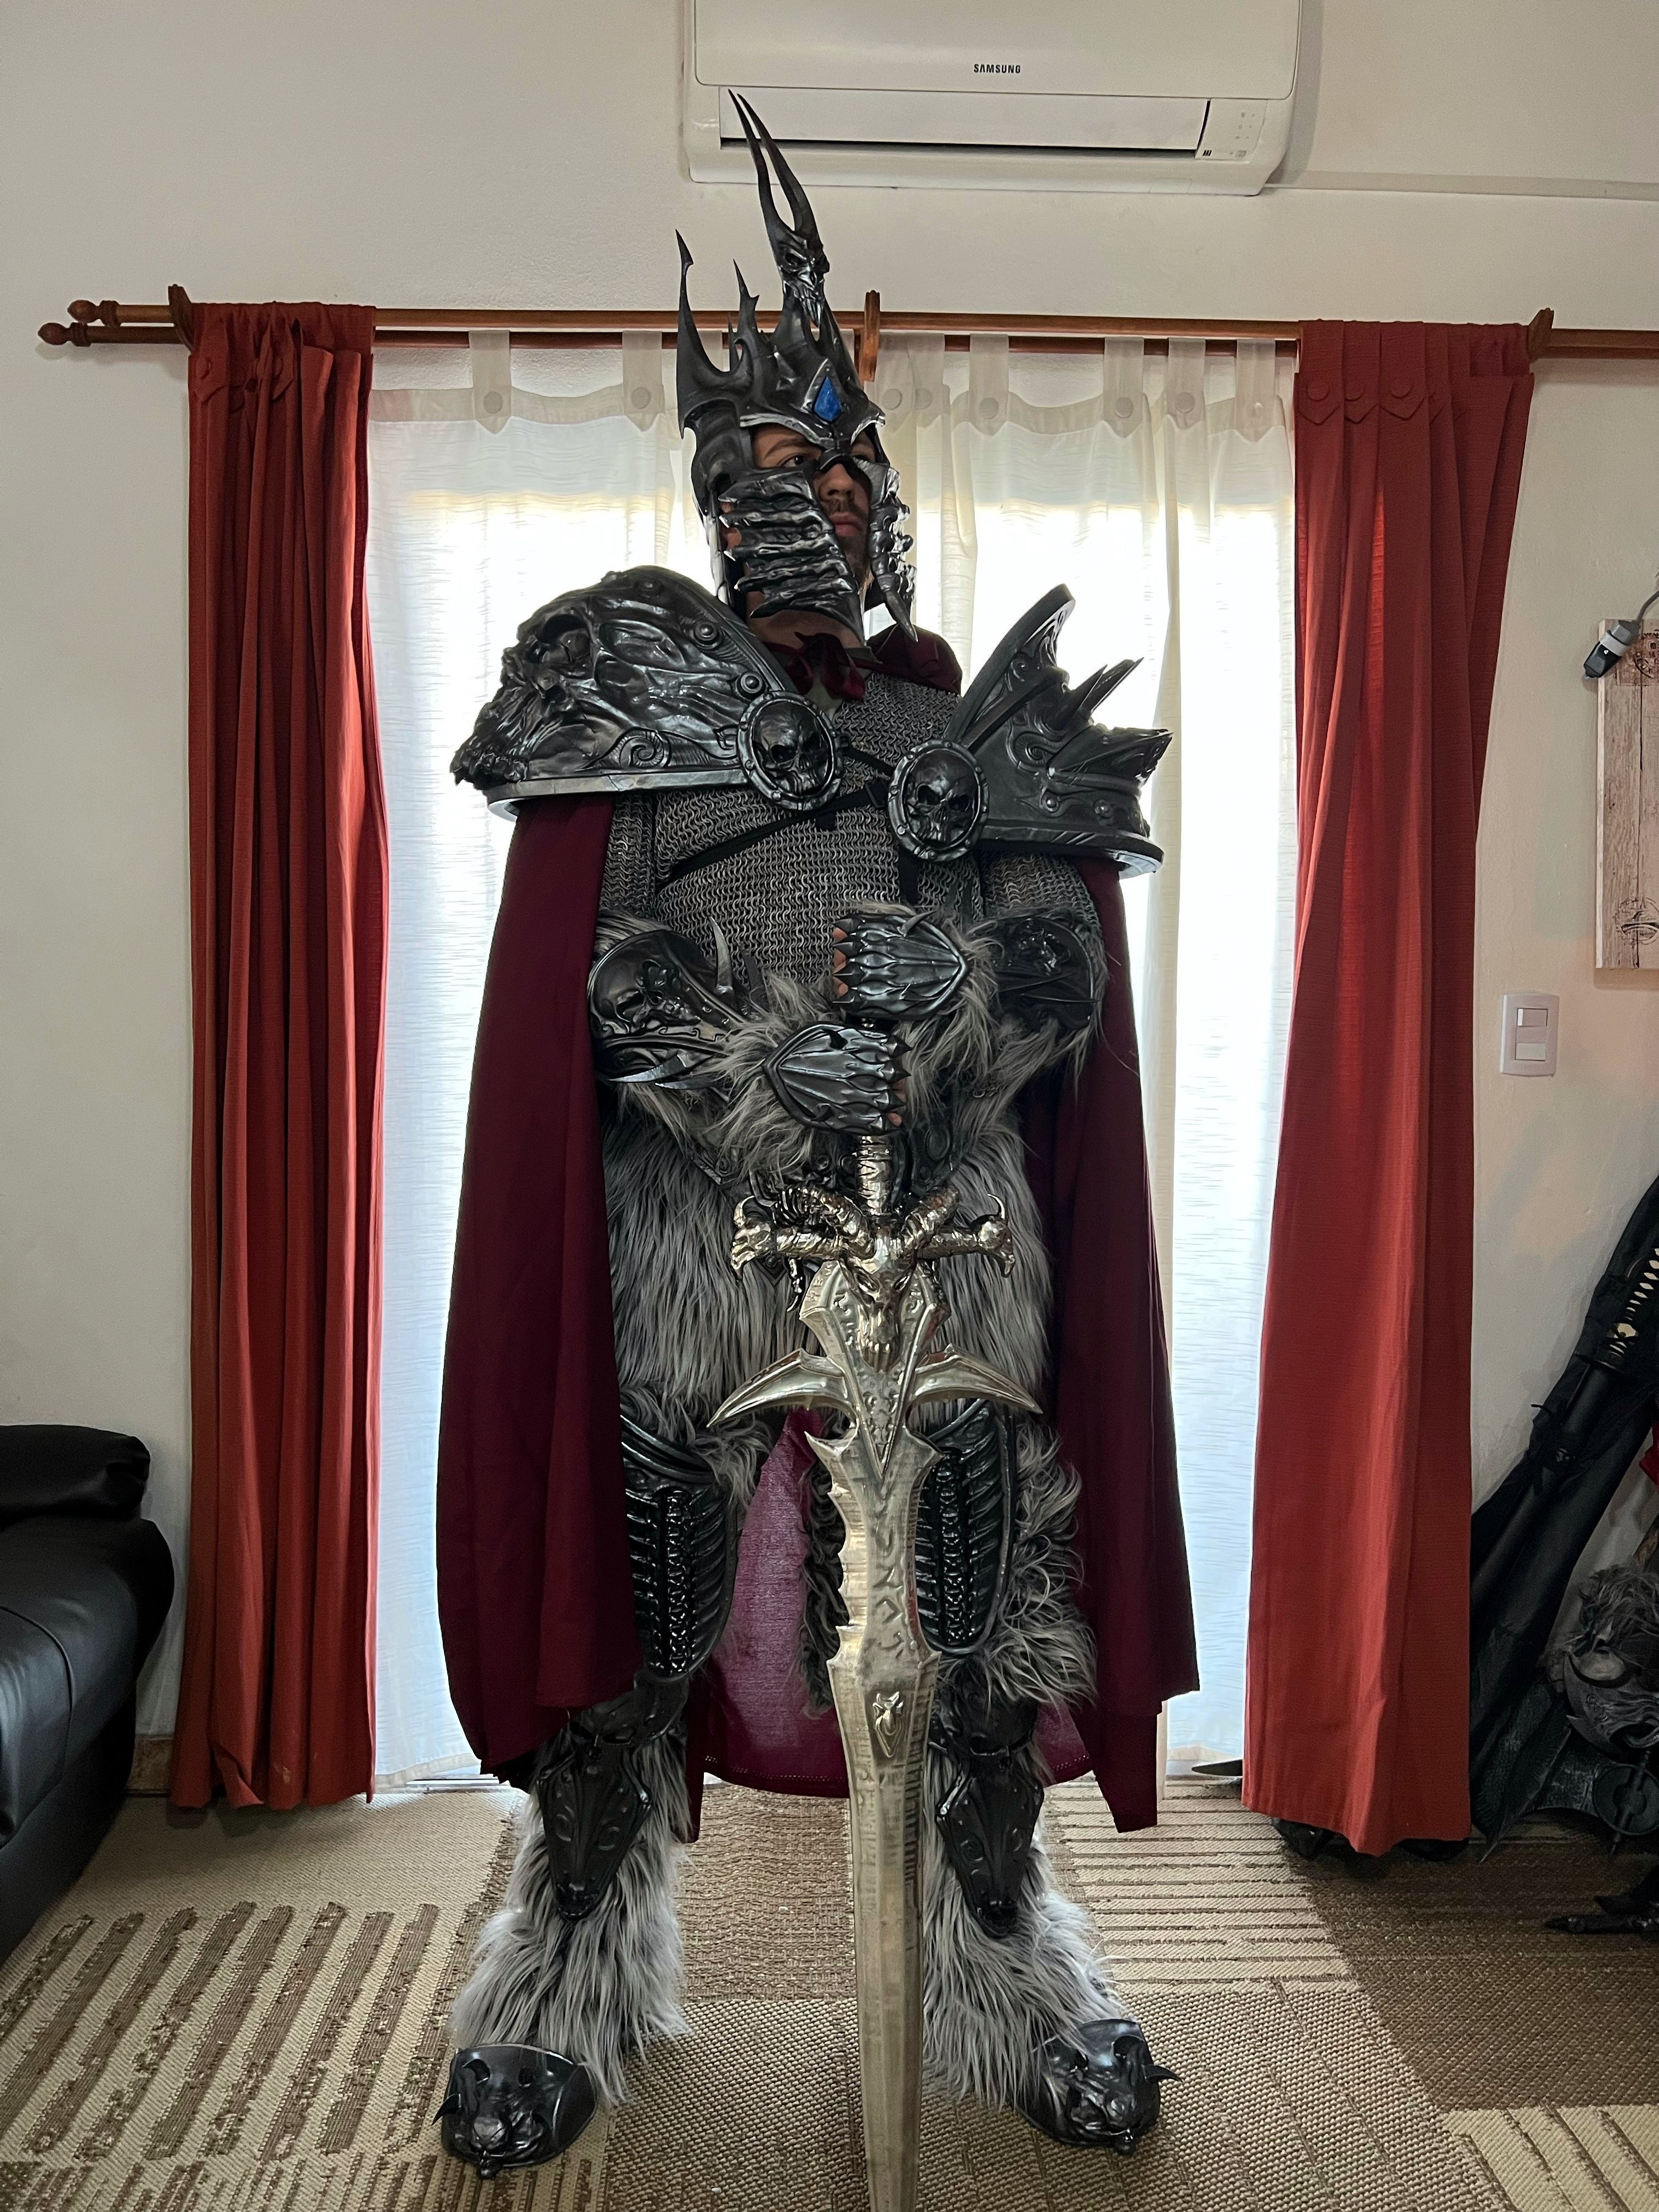
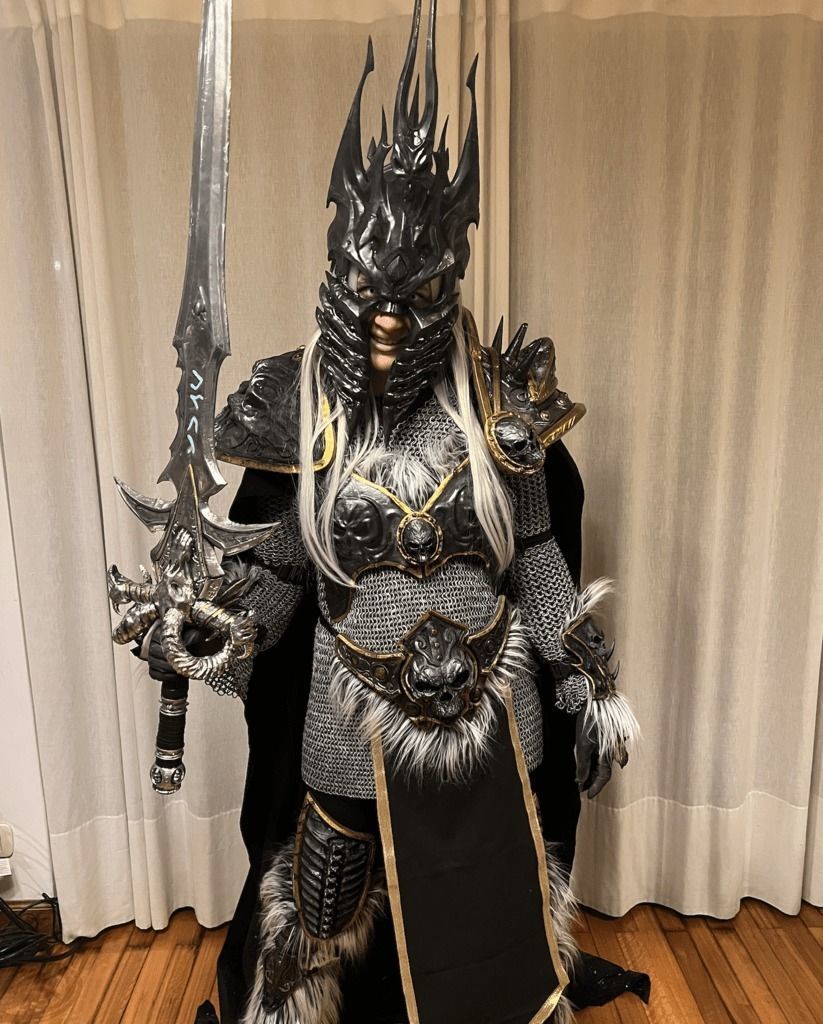
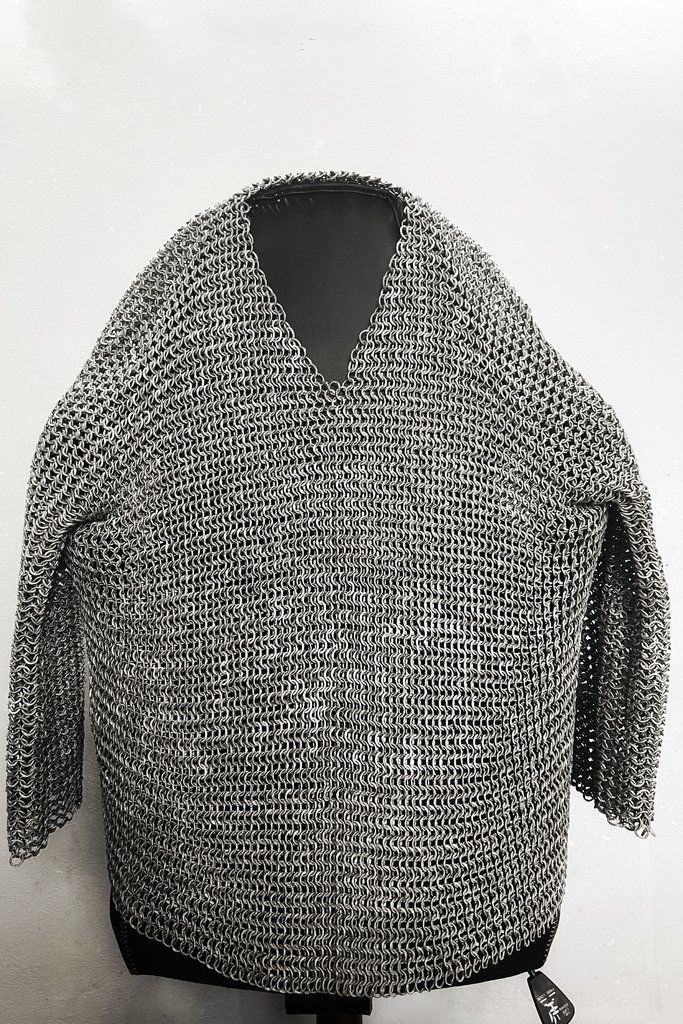
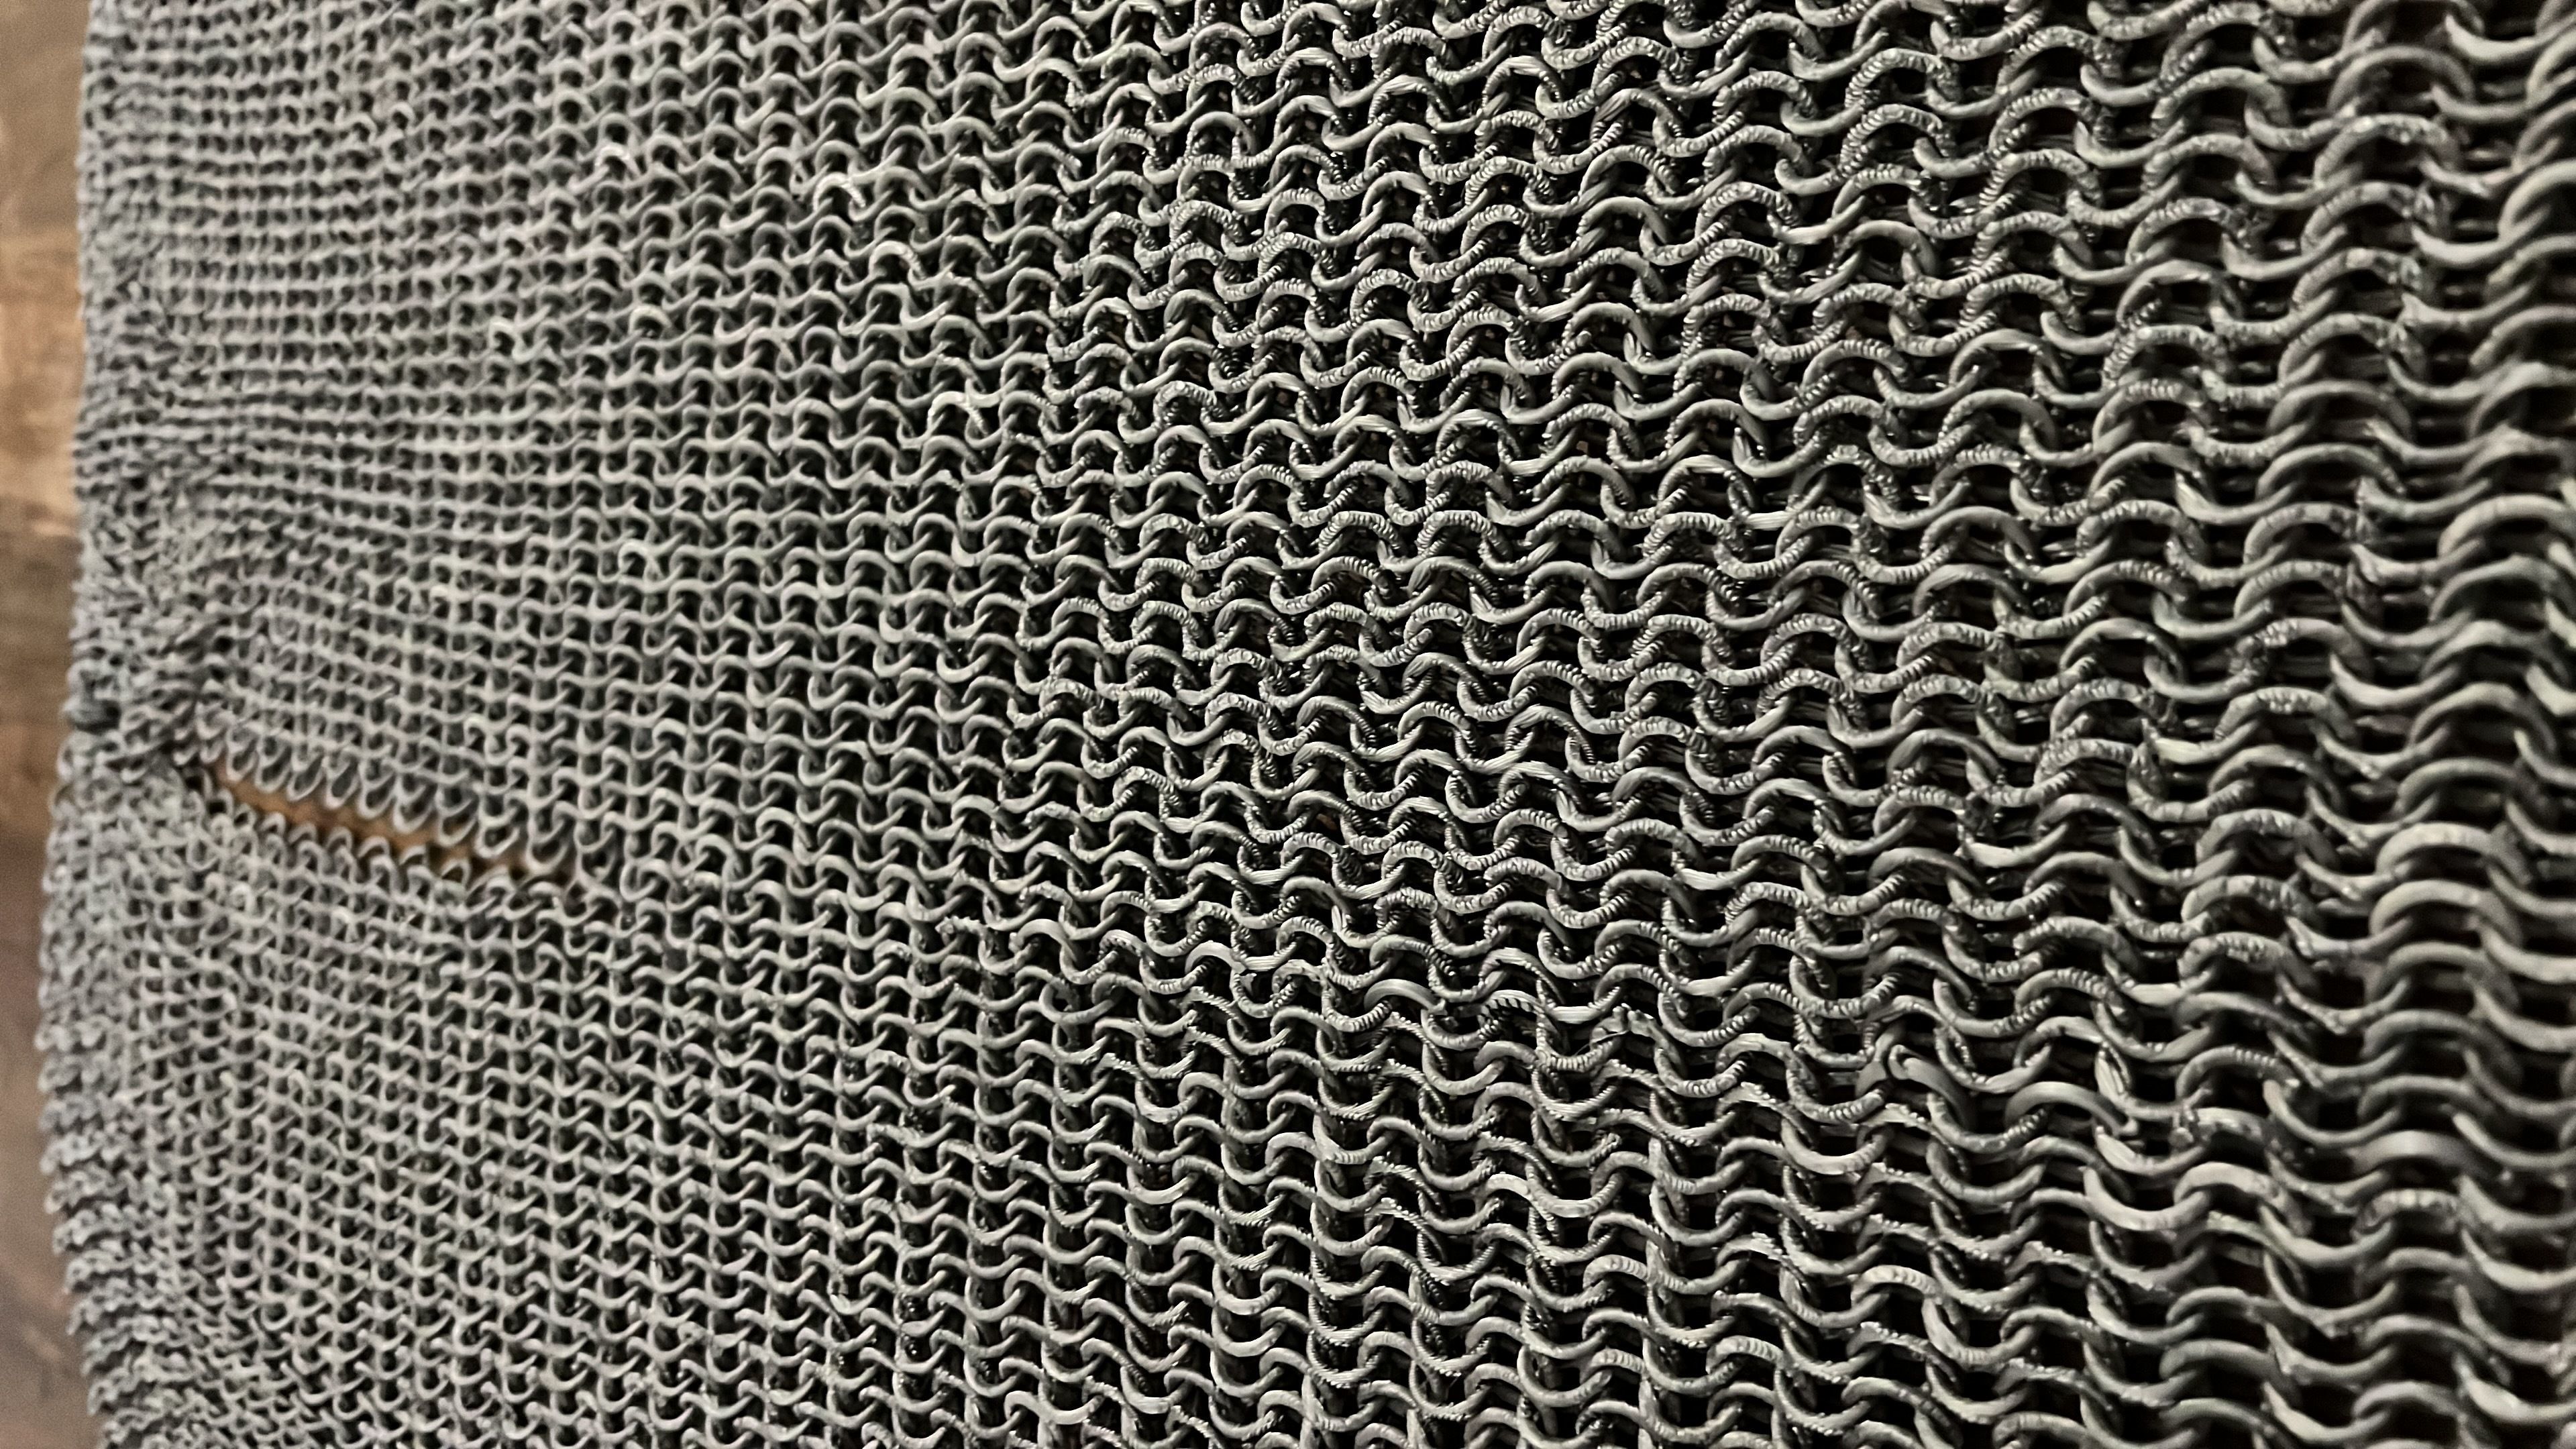
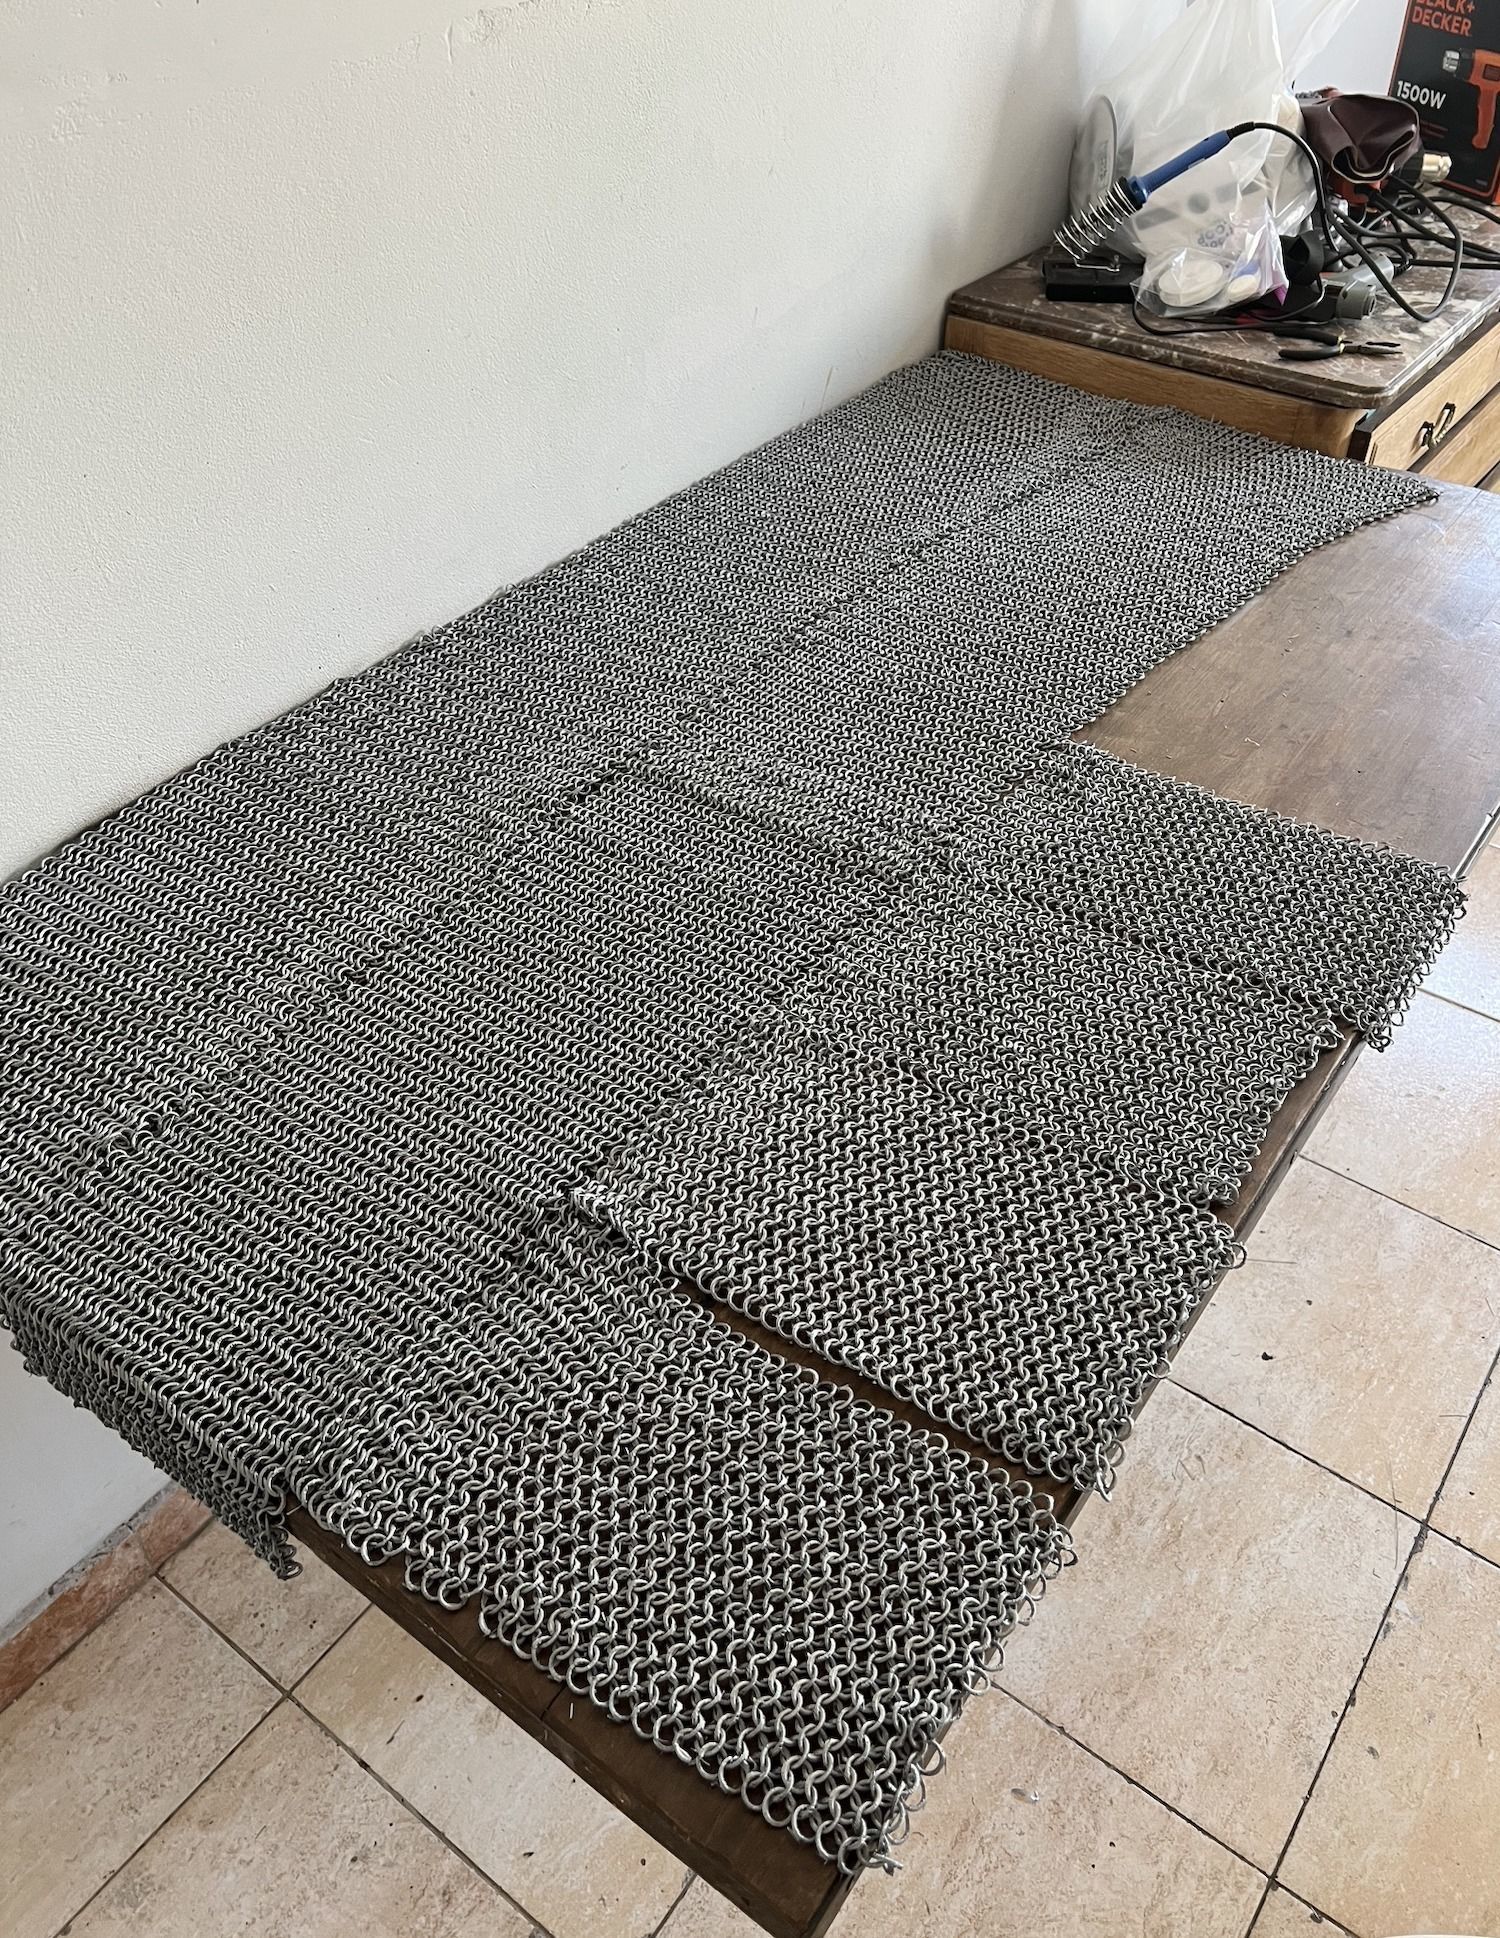
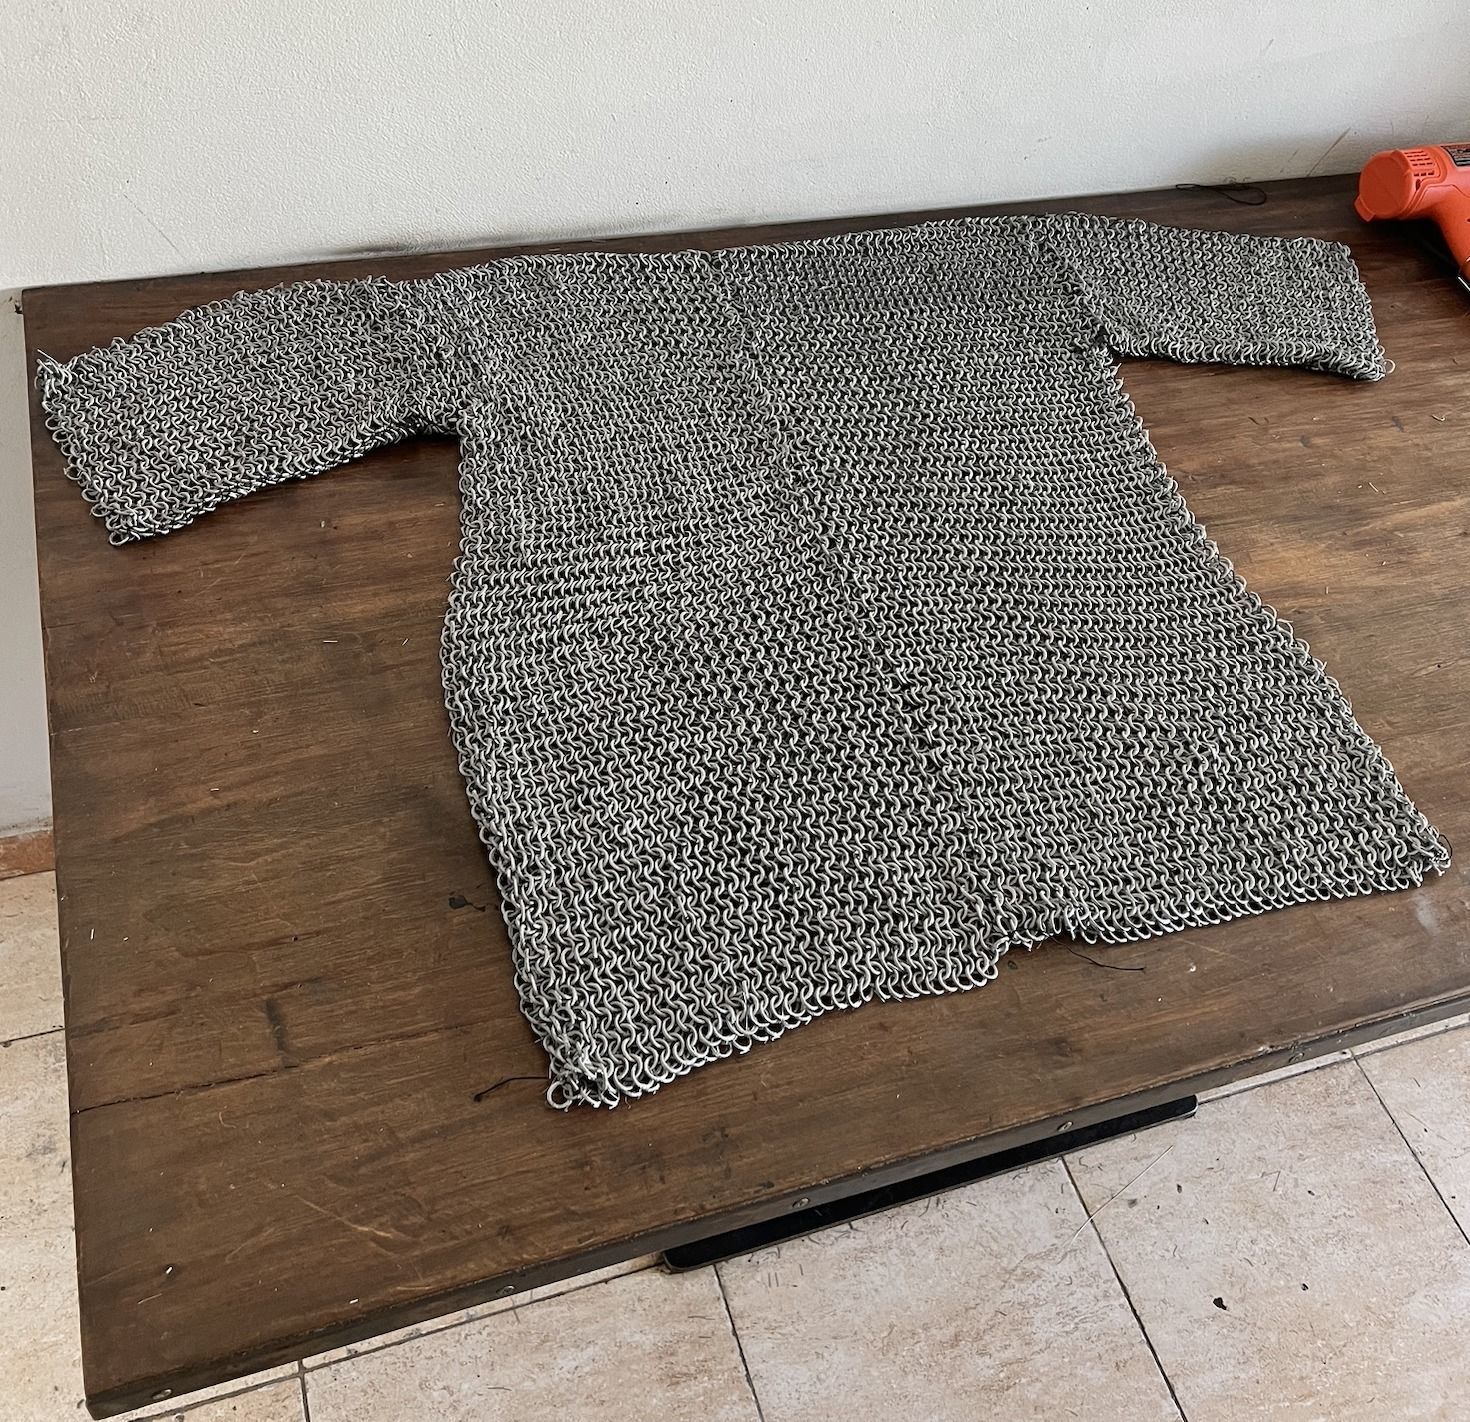
Create your own super light chain mail with 3d printing Turn your 3D printer into a medieval forge with this groundbreaking, multi-layer chainmail model, meticulously designed to maximize space while offering unparalleled fidelity. The result is a life-sized chainmail sheet larger than your printer's build plate. Whit this files you can print large pieces of chainmail and assemble a whole shirt very quickly. Video Tutorials: https://www.instagram.com/propsmaker/reel/C7PDuzHOB1M/ https://www.instagram.com/propsmaker/reel/C59P1-6v6s1/ The files included enable you to print and assemble your own full chainmail shirt, boasting a remarkable level of detail and durability. Package Includes: - Front left chainmail piece - 36 hours - Front right chainmail piece - 36 hours - Back chainmail piece (print twice) - 36 hours per piece - Sleeve chainmail piece (print twice) — 17 hours per piece - Calibration test file for print optimization - Individual ring file for assembly and repair. Total Printing Time: 178 hours Note: All print times are based on the Prusa Core One. Design of the Week on Fabbaloo By Kerry Stevenson on October 24th, 2022 in Design (https://www.fabbaloo.com/news/design-of-the-week-3d-printed-chainmail)

Printing Settings

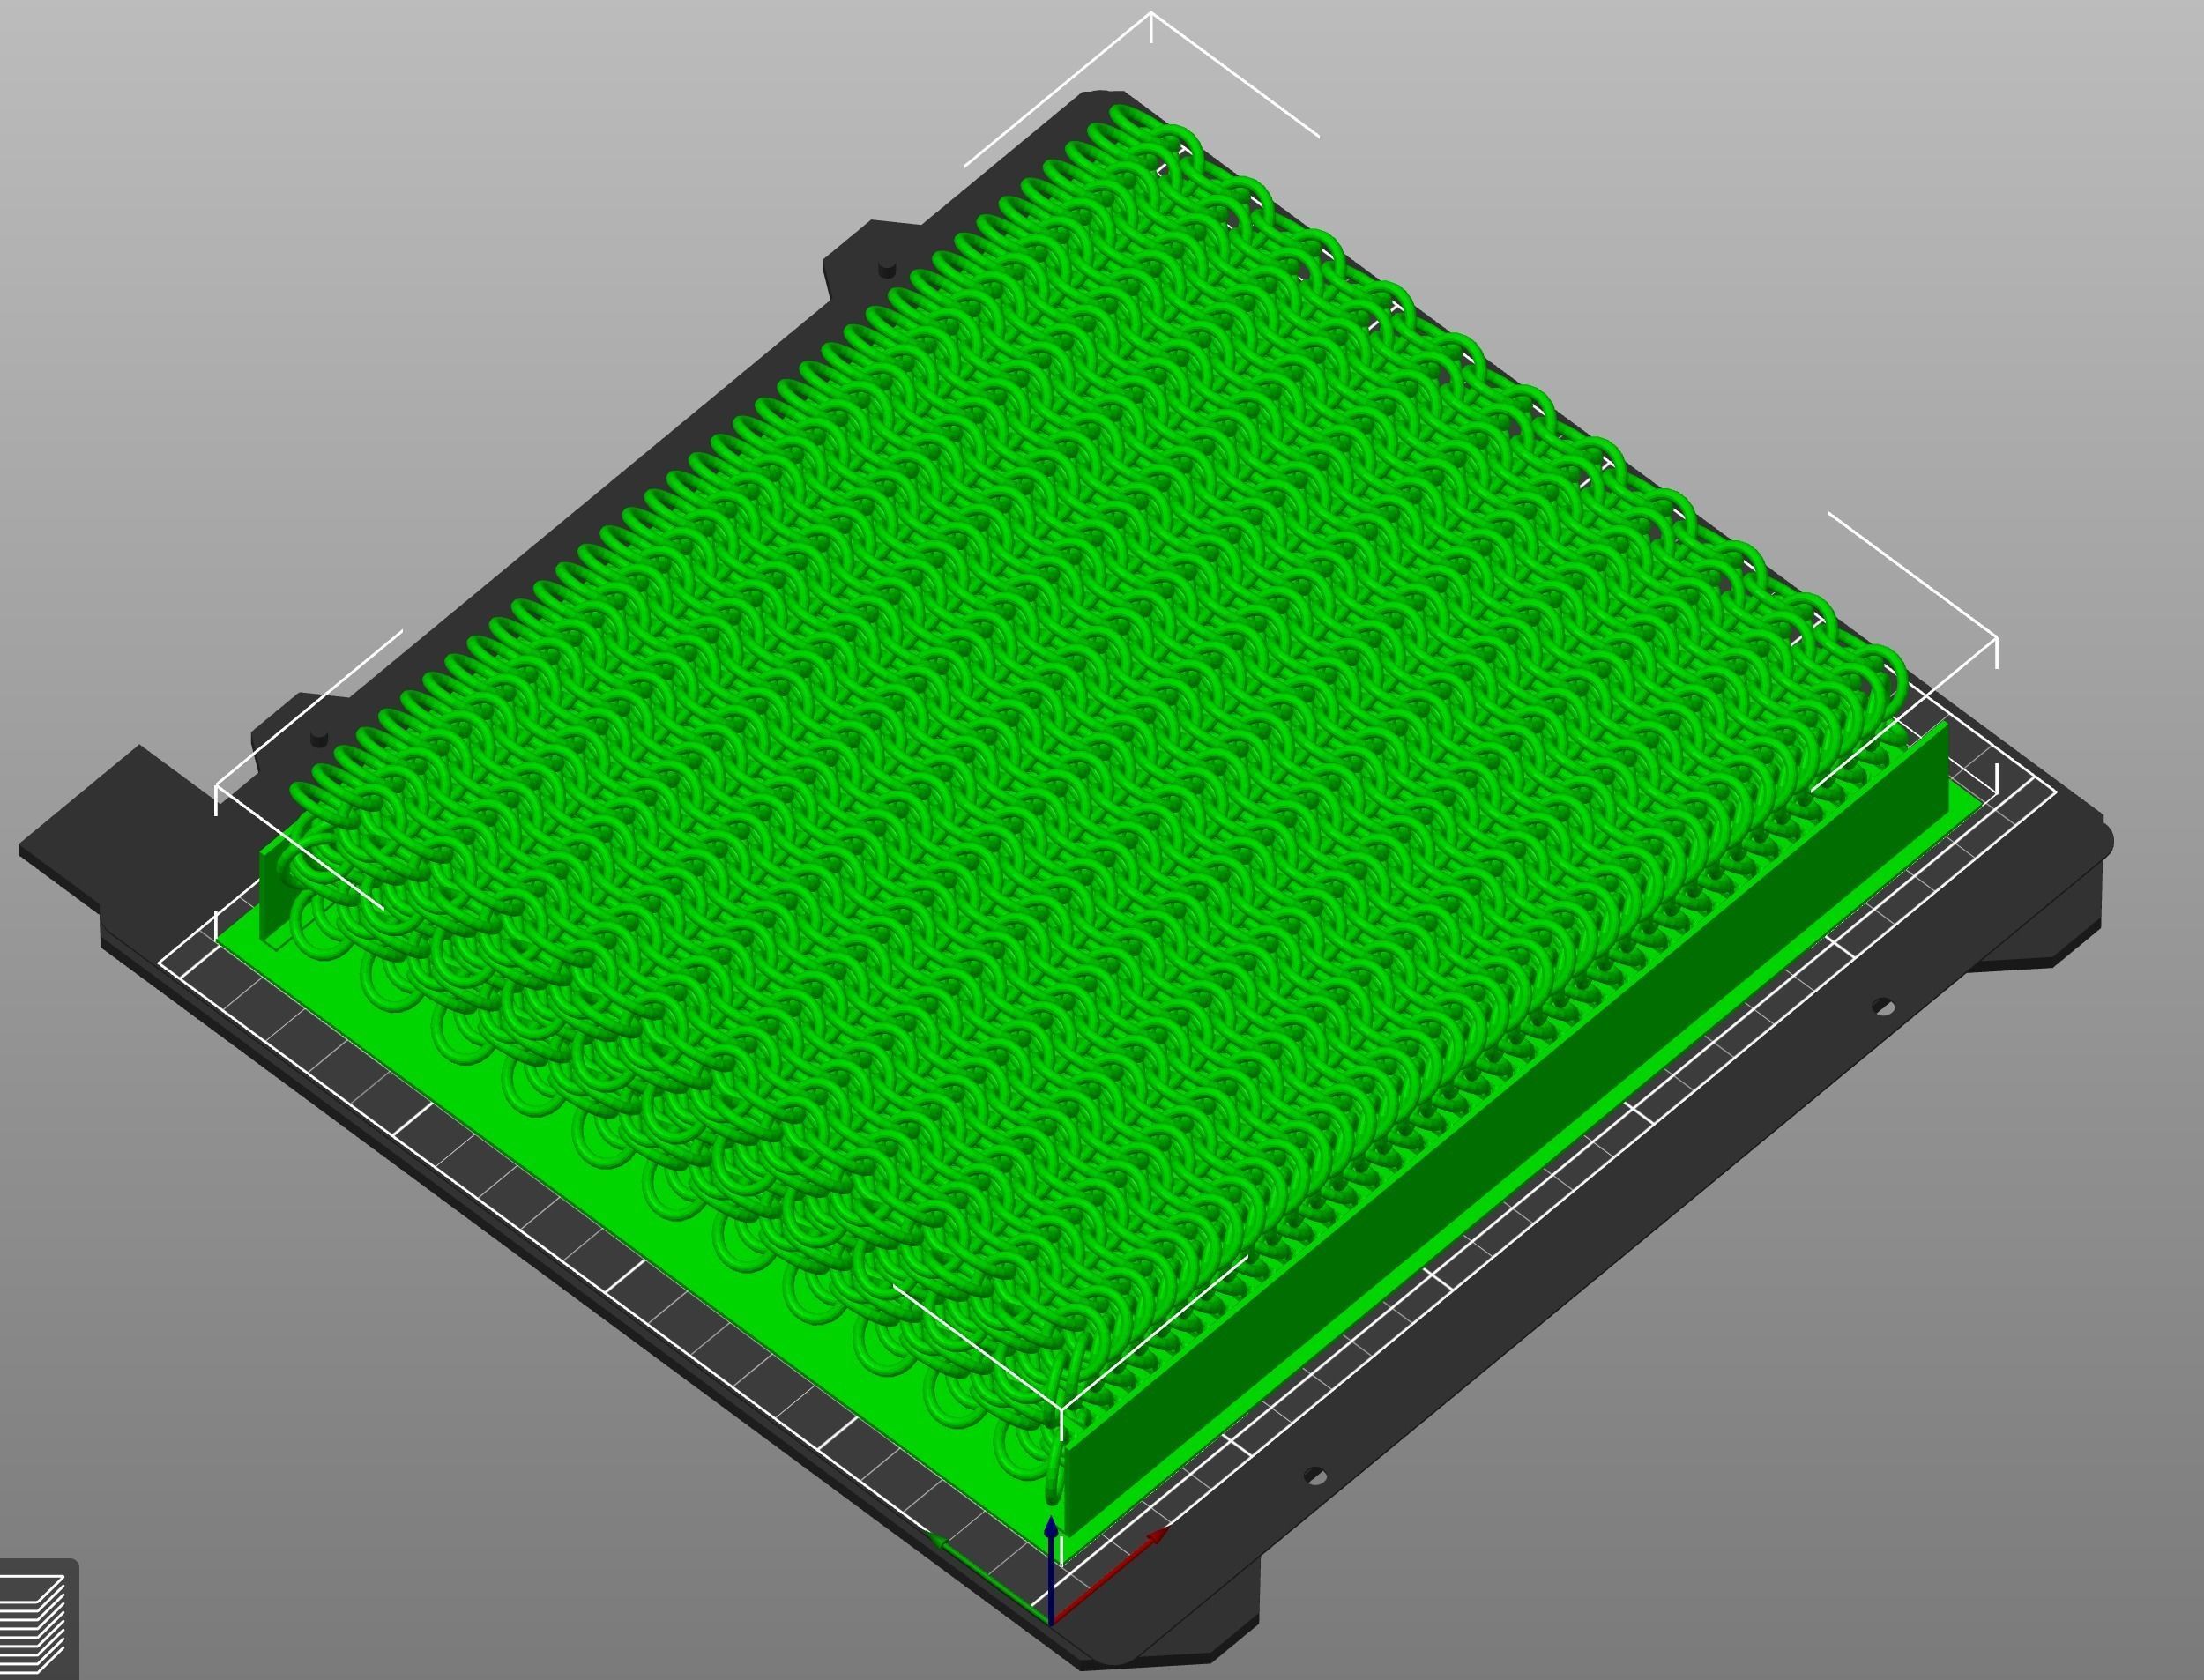
3D printing settingsVERY IMPORTANTIt is imperative that both the general layer height and the first layer height are set to 0.3mm. The model is meticulously designed with this specific layer height in mind to ensure optimal adhesion among the rings and to the platform. Deviating from this set layer height could adversely affect the print's integrity, risking failure.Key Specifications:

  • Critical Adhesion: Good adherence to the build plate is crucial for preventing warping and deformations that may ruin ring geometry, leading to assembly or wear issues.
  • No Supports Needed: The model includes built-in supports where necessary.
  • Adhesion Platform: A specialized platform enhances ring-to-bed adhesion, preventing print failures.
  • Leveling Aid: The adhesion platform doubles as a leveling assistant.
  • Optimized Layer Heights: Designed for a 0.3mm layer height for optimal adhesion between rings.
  • Stringing: Use DRY filament to avoid stringing
  • Slice Time: Complex polygonal design requires patience in slicing;Additional InformationEnsure your printer is well-calibrated and the bed is leveled for optimal results. Maintain bed adhesion by keeping the bed clean and free of grease. Use isopropyl alcohol for cleaning and apply adhesive if necessaryTroubleshooting tip:If rings detach mid-print, it could be due to collisions while moving between rings.To prevent this, use a Z lift of 0.5 mm.
speeedblender
speeedblender2025-07-14 09:59:47 UTC
great model
darkstudio
DarkStudio2025-06-01 20:29:36 UTC
Nice model
F
fosterjames5072025-01-18 13:05:36 UTC
Has anyone been able to get this right on a Bambu Lab A1? Been fine tuning all kinds of settings and I still can't get a successful print. Here's what I've tried: Filament: PLA+ Nozzle: 0.4mm Layer Height: 0.28mm (Bambu Lab A1 has a max line height of 0.28) Speed: 50 mm/s general, 100 mm/s travel Z-Hop: 0.2mm If there's something else I can try, please let me know
J
jaydubb2025-09-13 19:45:41 UTC
I printed mine with the same settings you stated but put my Z hop to 0.5mm and it works great
K
knabbuziak2024-10-15 03:51:15 UTC
The Ender3 has steppers that makes increments of 0.04mm in the Z-axis, how do you suggest getting the best results regarding that? I'm thinking shrinking/enlarging the whole model by 6.667% (I guess shrinking to fit the whole thing on the bed). With 0.8mm nozzle, do you only use one single wall per ring to print the rings? How much material does one complete set consume?
P
paulgfrc2024-05-05 18:21:51 UTC
I'm having a problem. I used PLA with a 0.8mm nozzle but the layer adhesion between the rings is too strong. I can barely pull them apart and when when I do a lot of the rings break from the force. I have to stick something between the layers to use leverage to break the bonds. They aren't coming apart as easily as they did in your video. Any tips?
K
krustyy2024-05-28 00:12:38 UTC
I'm on a Bambu X1 Carbon and have not had a successful test print yet. I've used 2 different rolls of silk PLA, a 0.4mm nozzle, and a 0.8mm nozzle. My printer is warning me that the 0.3mm layer height is out of spec so I'm going to try adjusting that to see if it helps. I'm also going to try regular PLA and some PETG for good measure.
draaphy
Draaphy2024-06-26 17:03:47 UTC
I haven't had any luck with a .8mm nozzle and have been trying a .4mm with PLA+ and that's worked much better. To be fair, I'm printing with pretty cheap filament on a mostly stock ender 3 and folks aren't joking when they say it's a tough print. But yeah, the .8 nozzle was leading to a ton of stringing and globbiness and really locked the rings together and made them super hard to separate.
Item rating
14 4
S
s3critsquirrel2024-09-05 22:25:41 UTC
Recommended
Had to make some adjustments to print on a high-speed FDM printer. But otherwise it printed just fine.
N
niknok0072024-09-04 21:36:47 UTC
Recommended
After some trial and error figuring out what filament to print this with (esun silver Pla+) printed out like a charm. I tried with Silk pla (clogged extruder) and PETG (rings stuck together too much). Ring breakage is minimal if you are careful separating the layers
G
gath-of-baal012024-04-22 03:28:08 UTC
Recommended
So, these files are definitely not for the faint of heart or poor calibration. All my attempts thus far with PETG were failures, possibly due to the lack of cooling that is inherent with PETG and the number of small moves. My first attempt with PLA was much better though. I have only done one section so far, but it was the largest and only I broke about 8 rings or so pulling it apart, but considering the density I'm quite impressed.
S
s8chadam2023-07-13 21:12:08 UTC
Recommended
Absolutely INCREADIBLE design! I didn't have many expectation because I tried printing other free chainmail models before buying this one, and had no success what so ever. But this worked absolutely perfectly. I printed this on a Bambulab P1P and was able to translate all Settings provided by the pdf. The stacking design is genius, you are printing multiple layers of interwoven rings, stacked on top of each other but easily separable. You will need to 'massage' and pull your chainmail quite a bit to separate all internal connection (or rotate the rings one by one if you like pain). This basically releases the chainmail to about 1.6x its size when you take it from the buildplate. I printed it in kexcelled grey silk pla and it looks stunning. I've never written a damn review for anything, but this model is just so far beyond what I thought was possible and soooo worth the 20 bucks, that I have to write this. Gives me the same feeling as I had the first day I used a 3D printer. A sense of wonder what is possible with technology! Thanks so much propsmaker!
R
robinlandal2023-06-09 11:13:13 UTC
Recommended
Worked perfectly after some tweaking with the test print! Printed on Prusa i3 MK3 with silver PLA. Will be awesome to not wear 20kg chainmail on next larp! :'D
Full Chainmail Armor 2 - Create your own super light chainmail
$29.99
 
Custom No Ai License 
Full Chainmail Armor 2 - Create your own super light chainmail
$29.99
 
Custom No Ai License 
Response 93% in 16.1h
3D Modeling
3D Print Modeling

3D Model formats

Format limitations
  • Stereolithography (.stl) (6 files)107 MB

3D Model details

  • Ready for 3D Printing
  • Publish date2022-10-20
  • Model ID#4063187
Chat